Ready-Made Templates allow you to quickly launch a website using professionally designed layouts that you can customize to fit your needs.
This option is ideal if you want more design control while still starting with a pre-built website structure.
Before starting this process, make sure you have already completed the initial builder setup steps described in:
How to Build a Website with WebOps Builder
Step 1: Open the Manual Building Options #
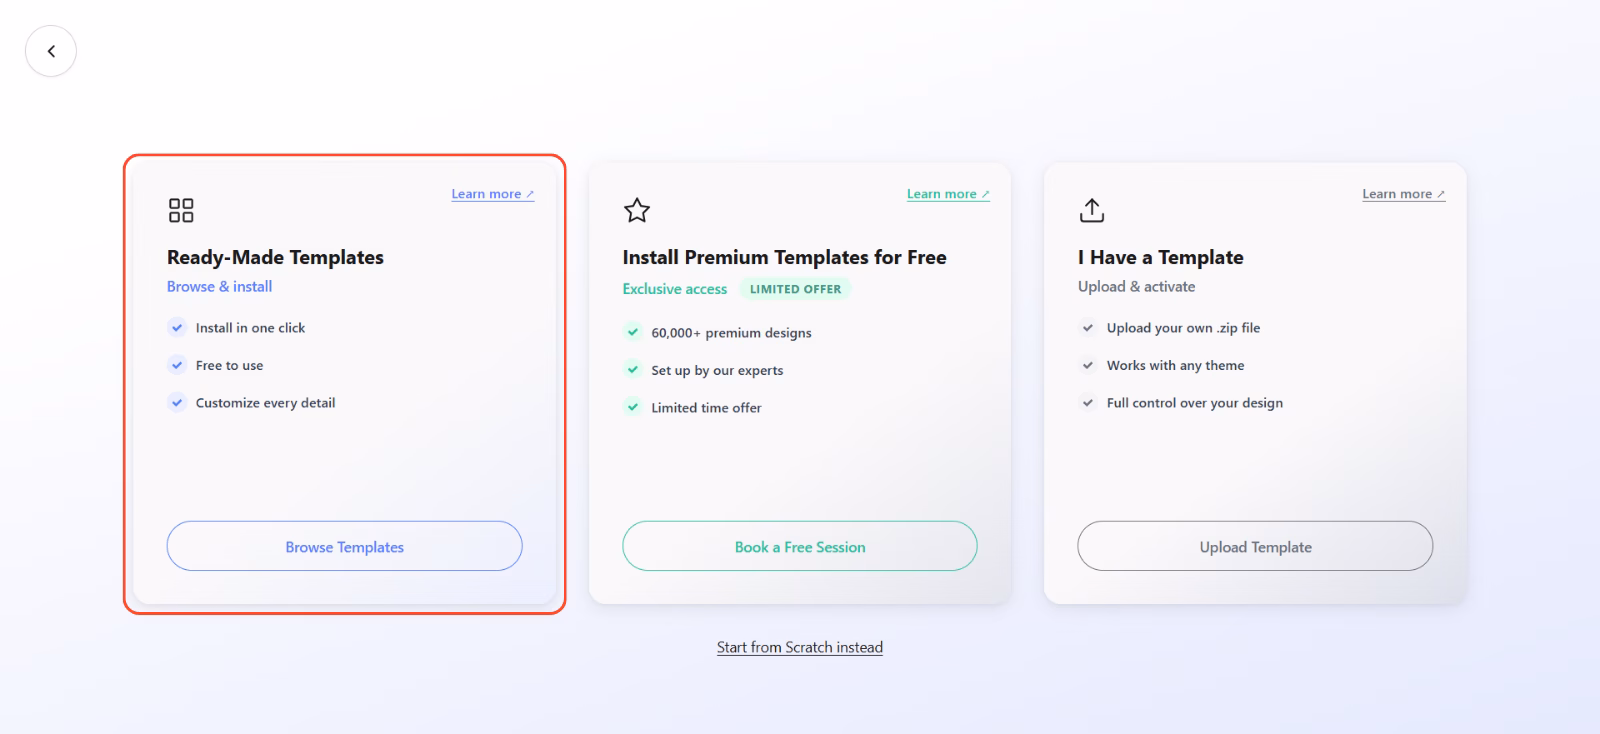
After completing onboarding, choosing Build it Yourself, and clicking Start Building, you will see different website building options.
Select Ready-Made Templates to start building your website using professionally designed templates.
Step 2: Select Ready-Made Templates #
From the available manual website building methods, choose Ready-Made Templates.
This will open a gallery of available templates that you can use to build your website.
Step 3: Choose a Template #
Browse through the available designs and select the template that best matches your website style and purpose.

Once you find a template you like:
Click Install
The system will automatically install the template and prepare your website.
This process usually takes a few moments.
Step 4: Customize Your Website #
Once the template is installed, you can start customizing your website.
From your WordPress Dashboard, you can:

- edit pages
- change images and text
- adjust colors and fonts
- modify menus
- add new pages
- install plugins
Most templates can be edited using Elementor, allowing you to visually design your pages without writing code.
What Happens Next? #
After installing your template, your website will be ready for customization.
You can access your WordPress Dashboard to manage your website content and design, including:
- Pages
- Posts
- Media
- Menus
- Theme settings
Your site is now ready to be edited and published.
Helpful Tip #
Choose a template that is closest to the layout you want for your website. This will save time when customizing your pages later.