 Build it Yourself allows you to manually create and customize your website using WebOps building tools and templates.
Instead of generating the website automatically with AI, this option prepares a clean website environment so you can build the website your own way.
This guide explains how the Build it Yourself flow works and the available website-building methods.
Step 1: Sign In and Create a Website #
#
Go to: app.thewebops.com
Click: Sign In
Then log in to your account.
From your Dashboard: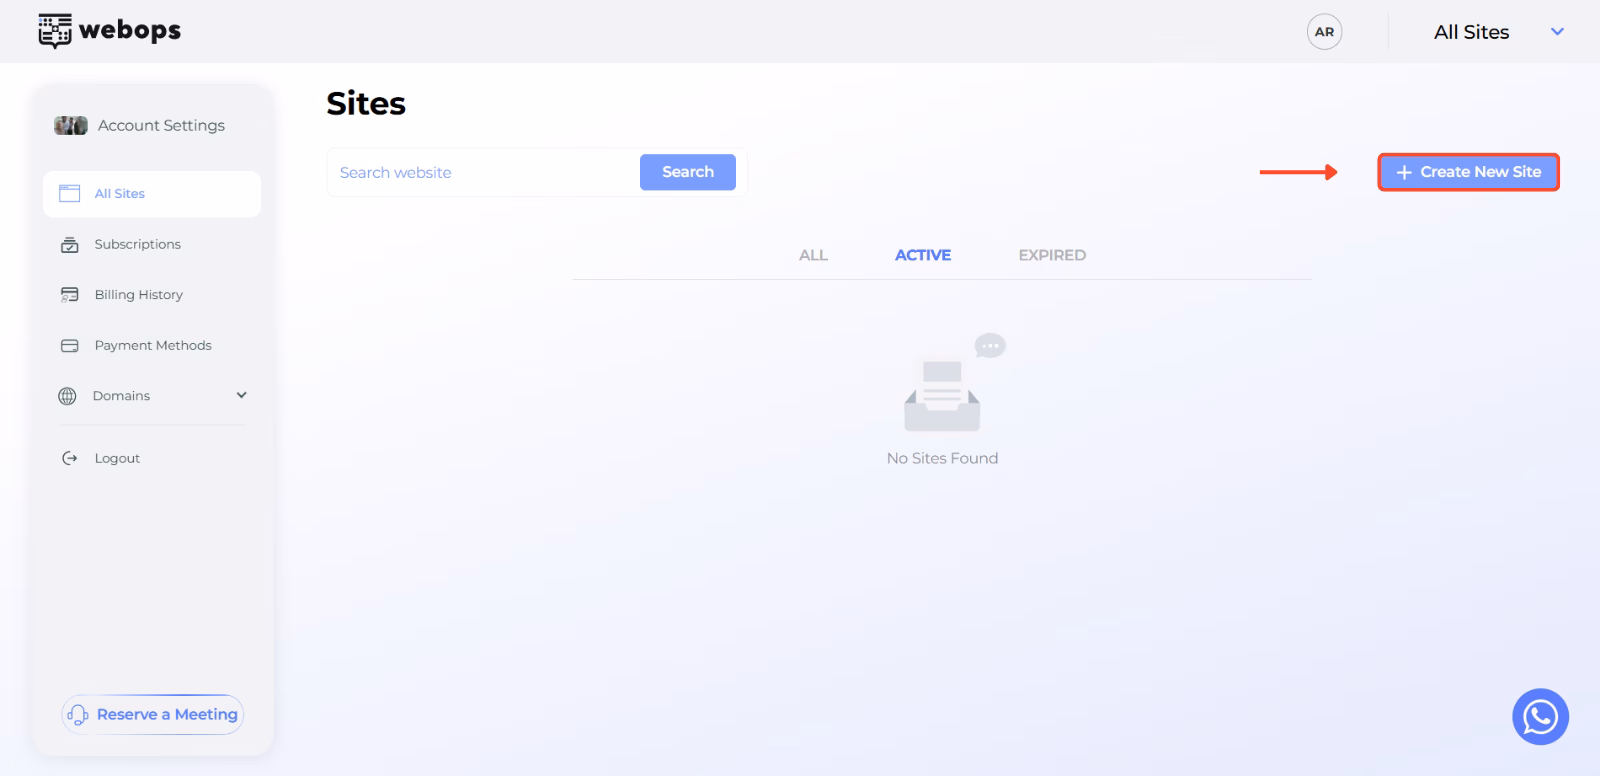
Click: Create New Site
Depending on your account, you may either:
- continue directly to onboarding for a free website
- or choose a paid plan before continuing
Step 2: Complete the Onboarding Questions #
Before preparing your website, WebOps asks a few onboarding questions to better understand your business and website goals.
Complete all onboarding steps, then click: Next to continue.
Learn more:
How to Build a Website with WebOps Builder
Step 3: Choose Build it Yourself #
After onboarding, WebOps will ask how you want to build your website.
Select: Build it Yourself
This option creates a clean website environment so you can manually customize and build your website.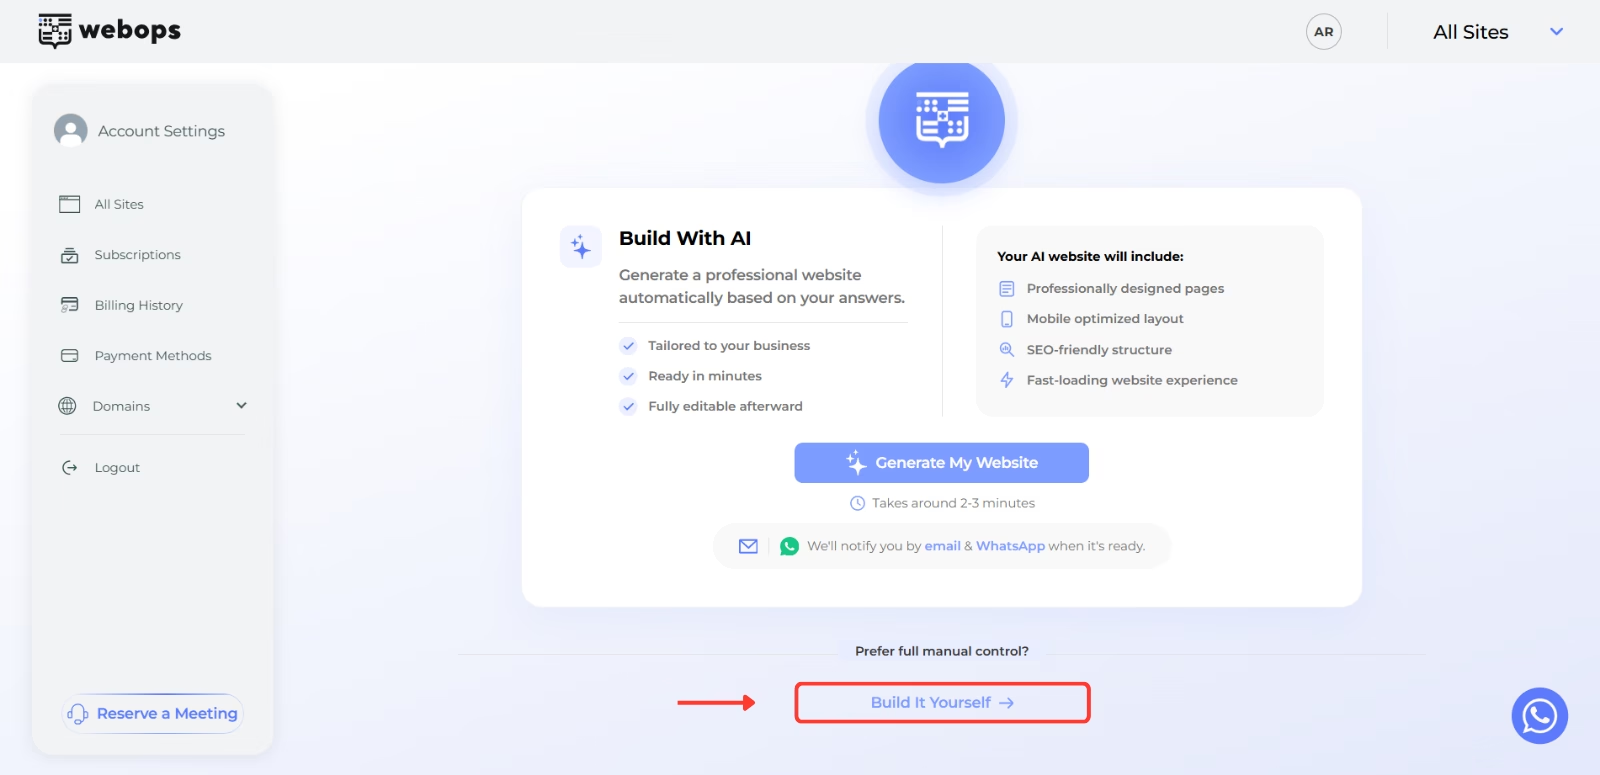
Step 4: Complete Payment (If Required) #
If your website requires a paid plan, you will first be redirected to the payment step.
After payment is completed successfully, WebOps will begin preparing your website automatically.
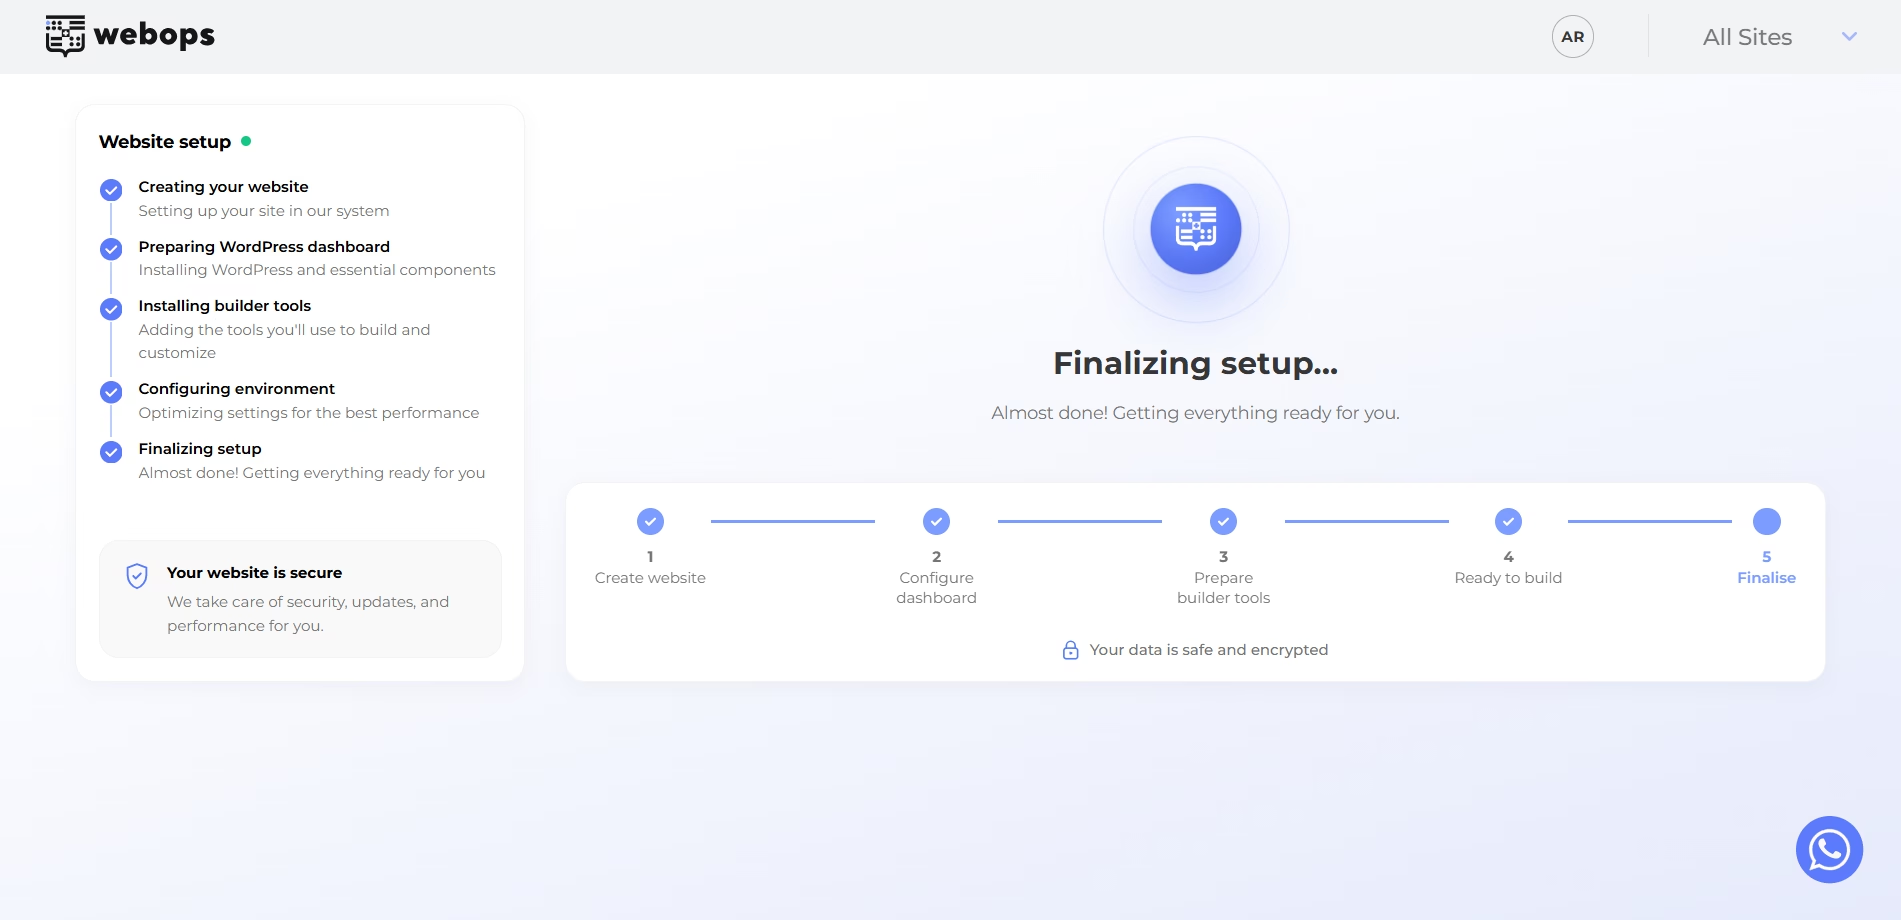
Step 5: Website Preparation #
During this stage, WebOps prepares your website environment and gets everything ready for manual building.
This includes:
- preparing the website container
- preparing WordPress
- preparing the website environment
Step 6: Start Building #
After preparation finishes successfully, you will be redirected to the congratulations page.
The page confirms that your website is ready for manual building.
Click: Start Building to continue.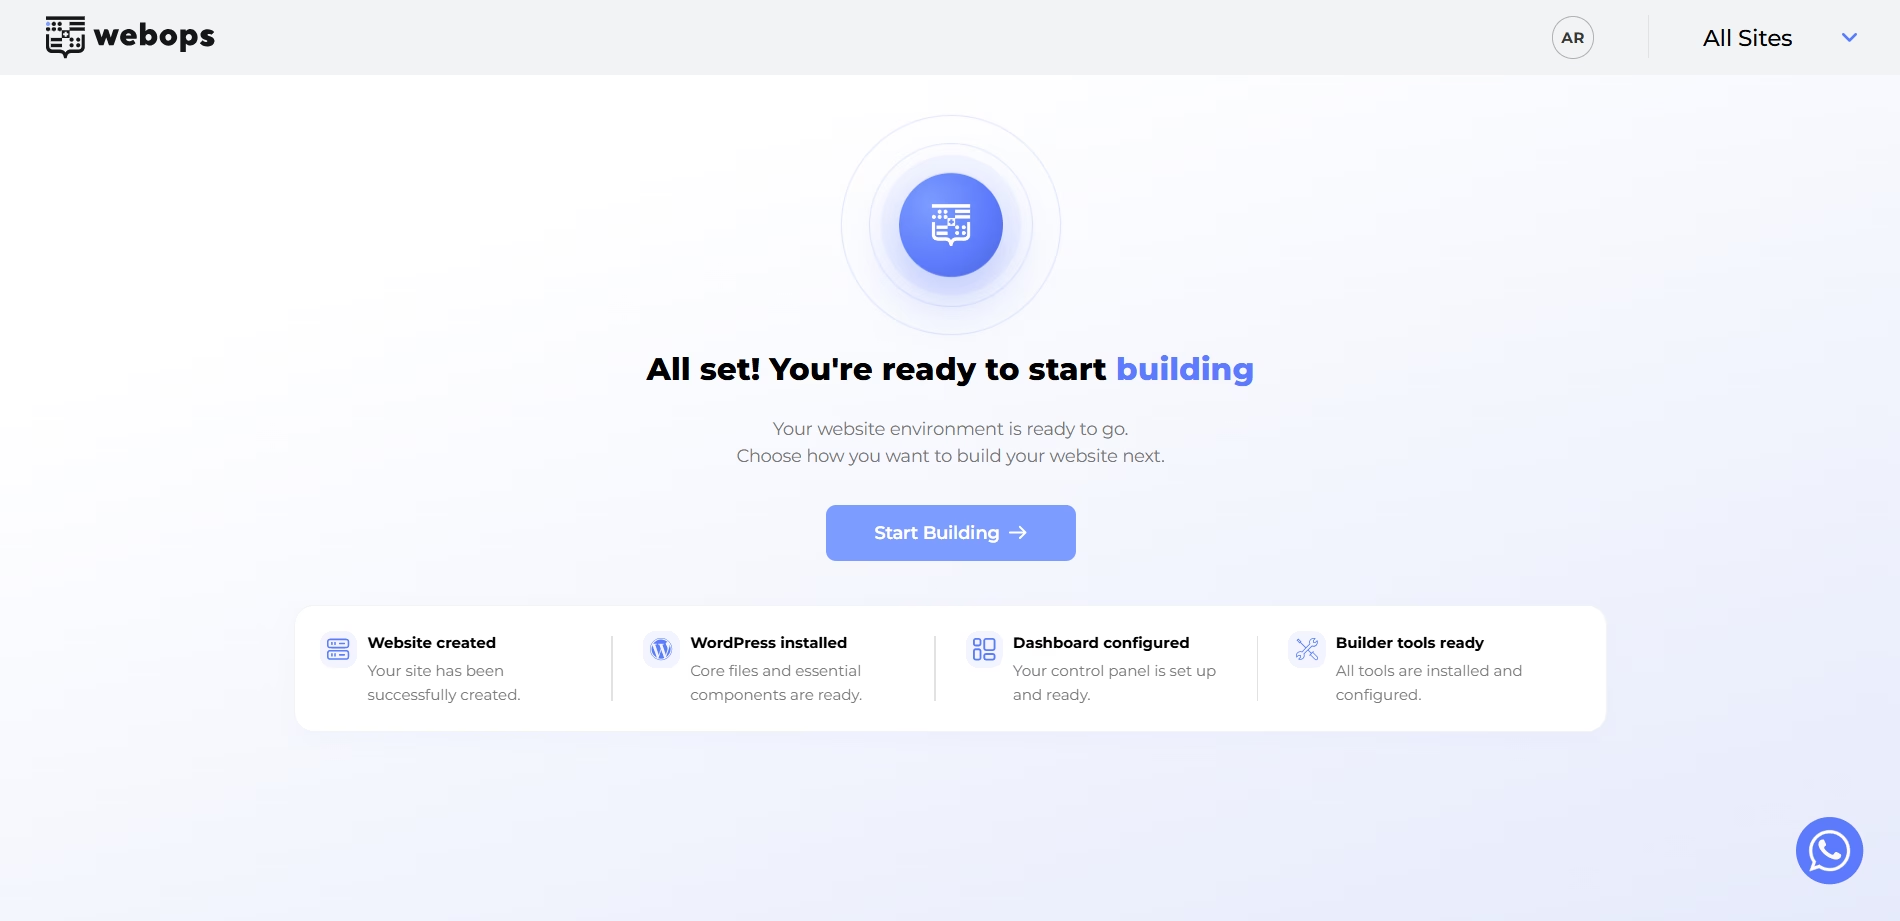
Step 7: Choose Your Building Method #
After clicking: Start Building
you will see the available manual website-building methods.
WebOps currently provides three manual building methods:
- Ready-Made Templates
- Install Premium Templates for Free
- I Have a Template
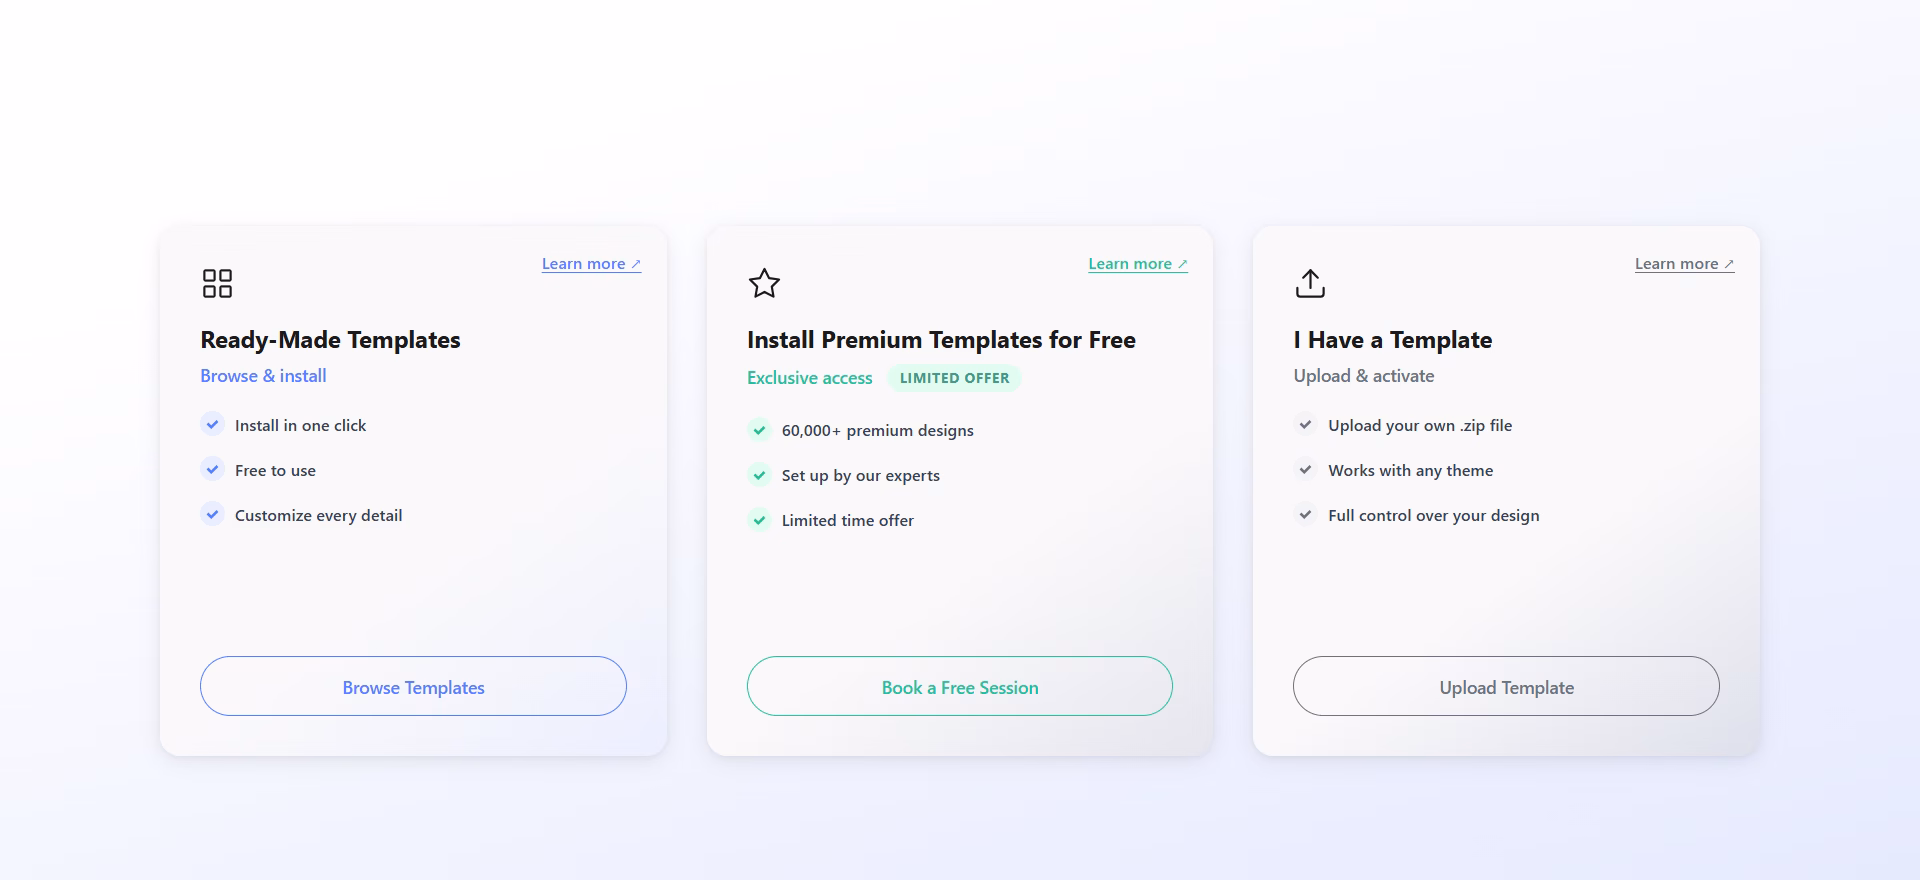
Option 1: Ready-Made Templates #
Ready-Made Templates allow you to quickly launch your website using professionally designed templates.
This is the fastest manual website-building method.
Learn more:
How to Build a Website Using Ready-Made Templates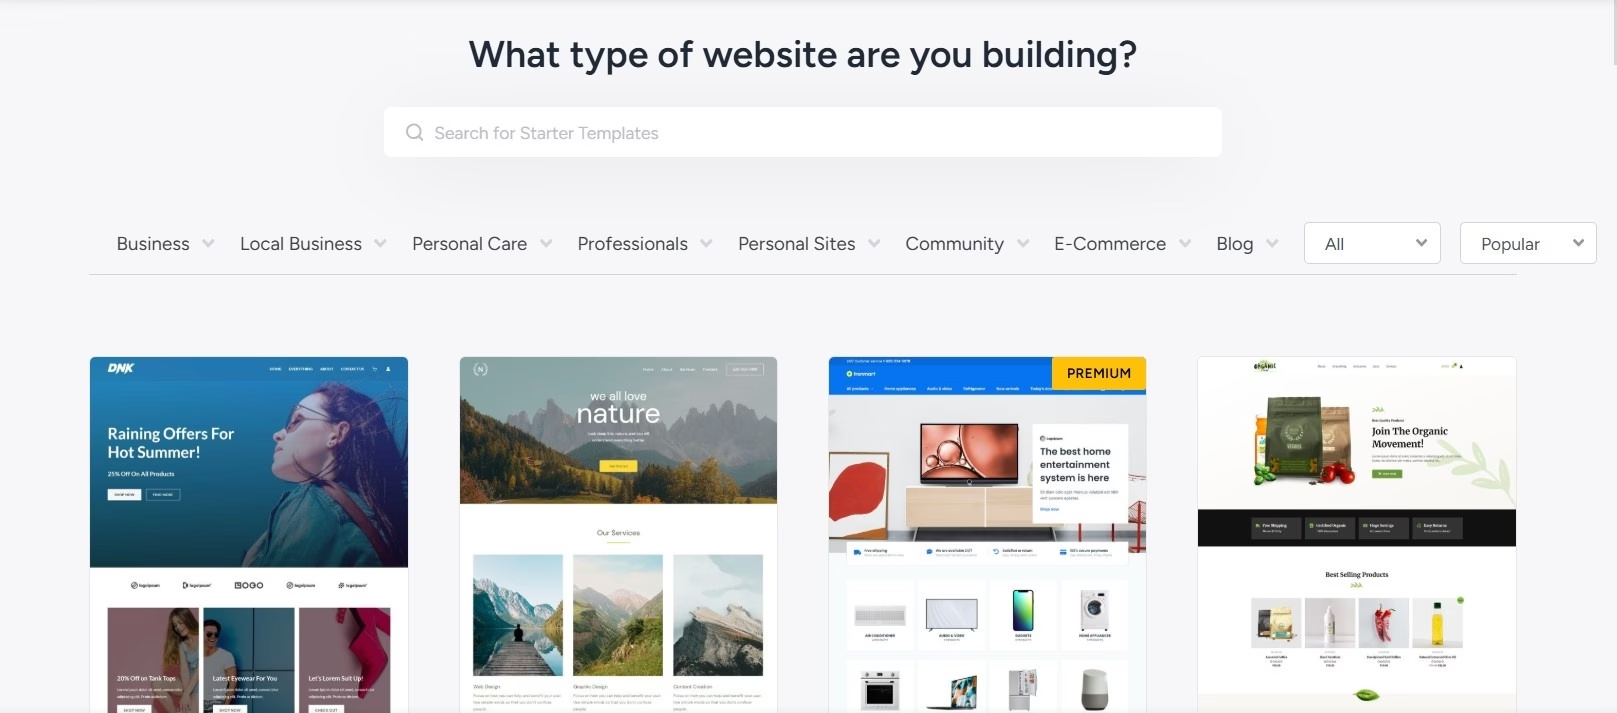
Option 2: Install Premium Templates for Free #
This option allows you to install premium WordPress templates with help from the WebOps team.
This is useful if you want advanced or premium designs without manually configuring everything yourself.
Learn more:
How to Install Premium Templates for Free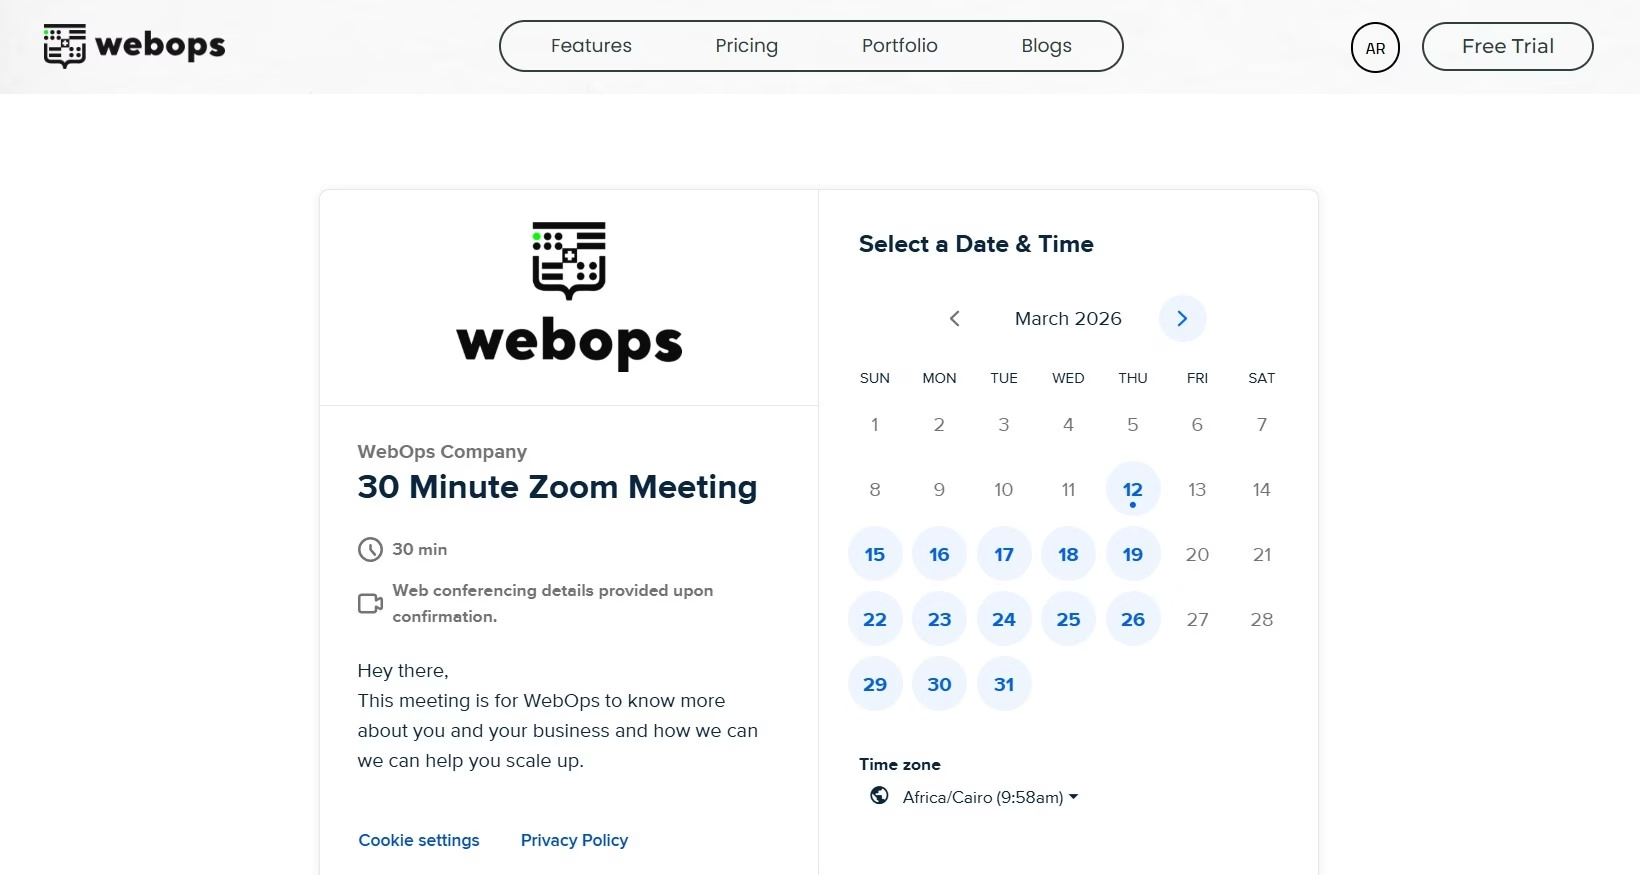
Option 3: I Have a Template #
This option allows you to upload and use your own WordPress template or theme.
This is useful if you already purchased a template from marketplaces such as ThemeForest.
Learn more:
How to Build a Website Using Your Own Template
What Happens Next? #
After choosing a building method, you can continue customizing your website through:
- the WordPress Dashboard
- WebOps tools and settings
You can later:
- edit pages
- customize design
- upload media
- install plugins
- connect domains
- publish your website