Build With AI allows WebOps to automatically generate a complete website using the information you provide during onboarding.
Instead of manually choosing templates, layouts, or sections, the AI prepares the website for you automatically.
This guide explains how the AI website generation process works in WebOps.
Step 1: Sign In and Create a Website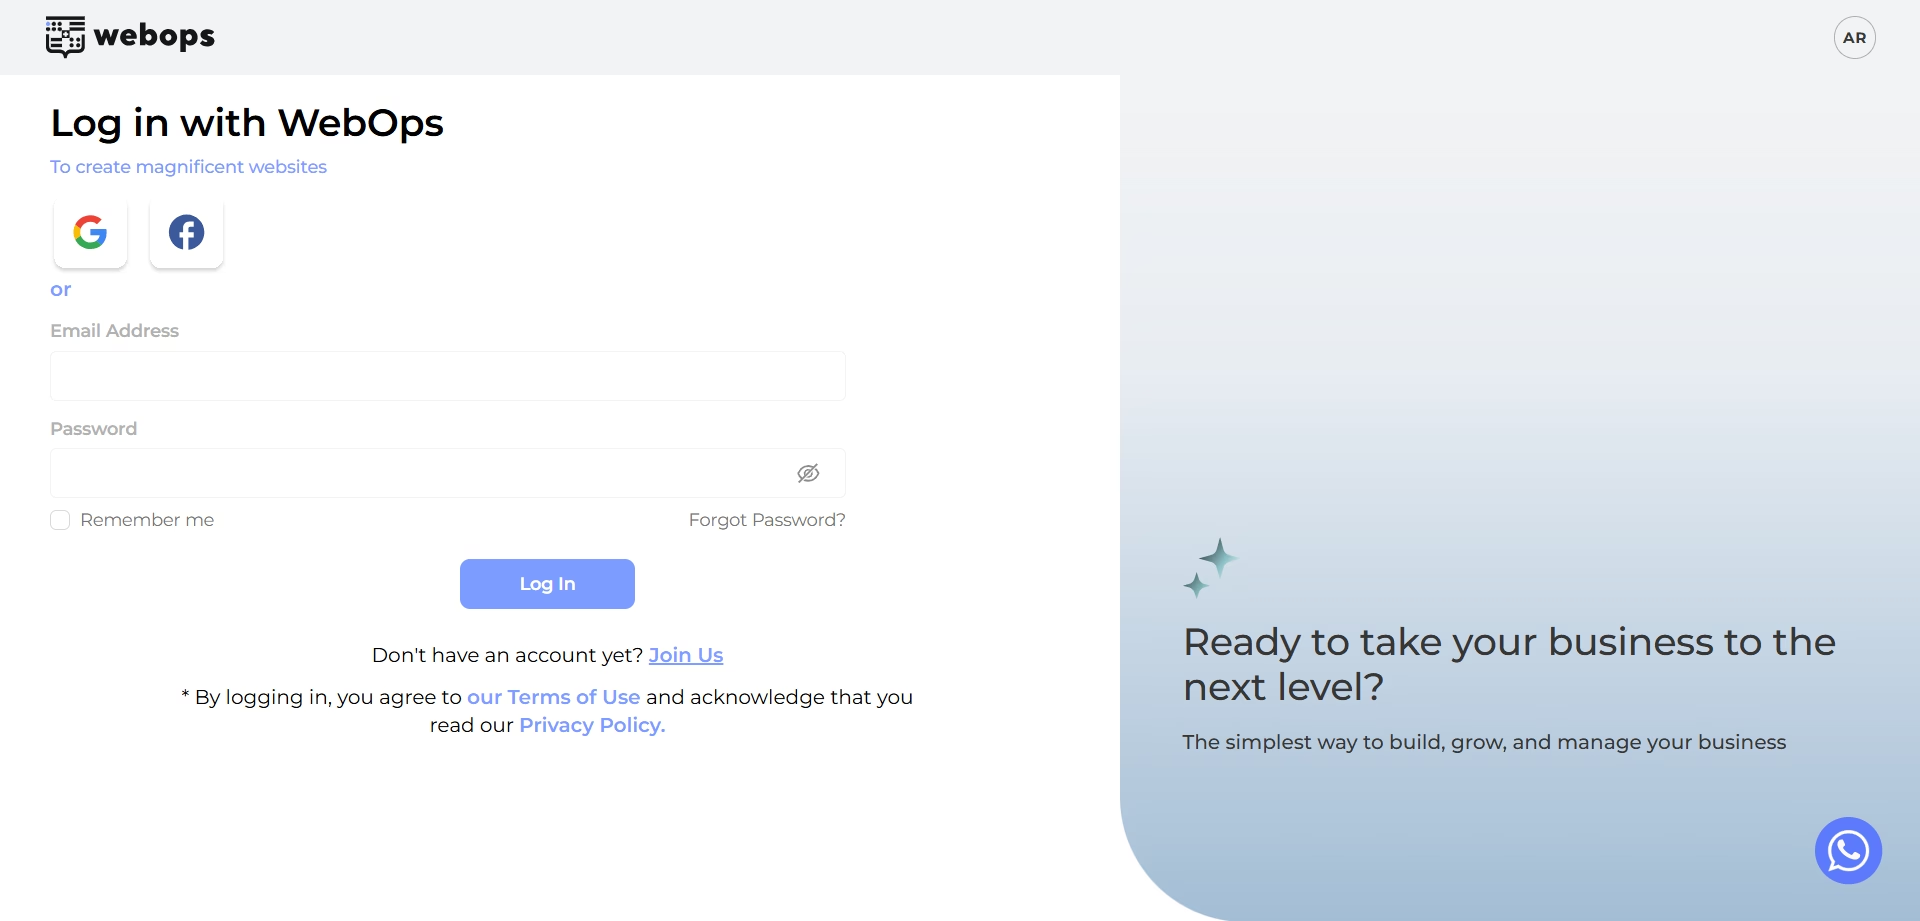 #
#
Go to: app.thewebops.com
Click: Sign In
Then log in to your account.
From your Dashboard: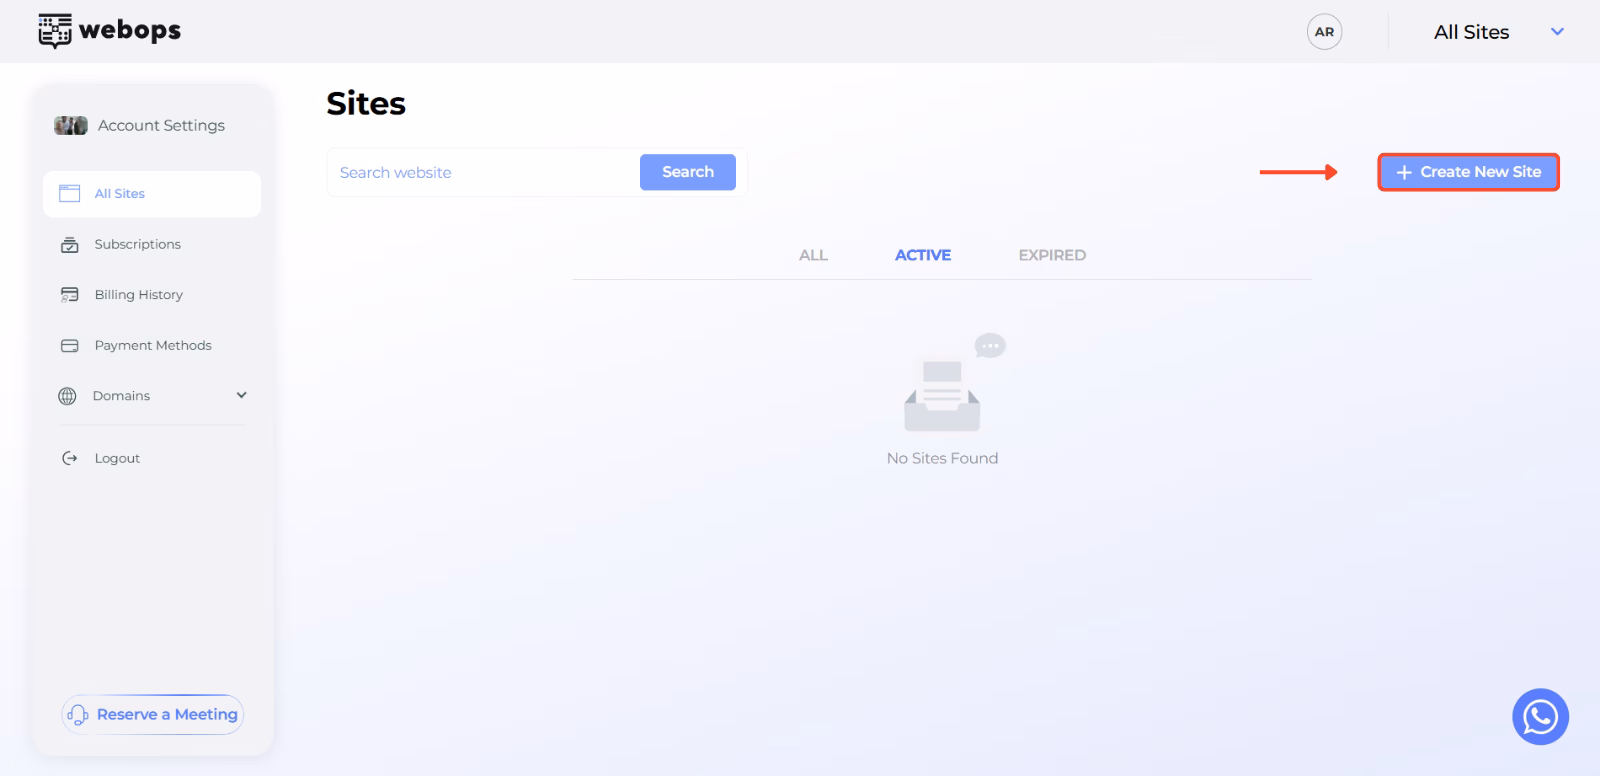
Click: Create New Site
Depending on your account, you may either:
- continue directly to onboarding for a free website
- or choose a paid plan before continuing
Step 2: Complete the Onboarding Questions #
Before generating your website, WebOps asks a few onboarding questions to better understand your business and website goals.
The AI uses these answers to help generate your website automatically.
About Your Business #
The AI uses information such as:
- project name
- business type
- business description
to better understand your business and generate suitable website content and layouts.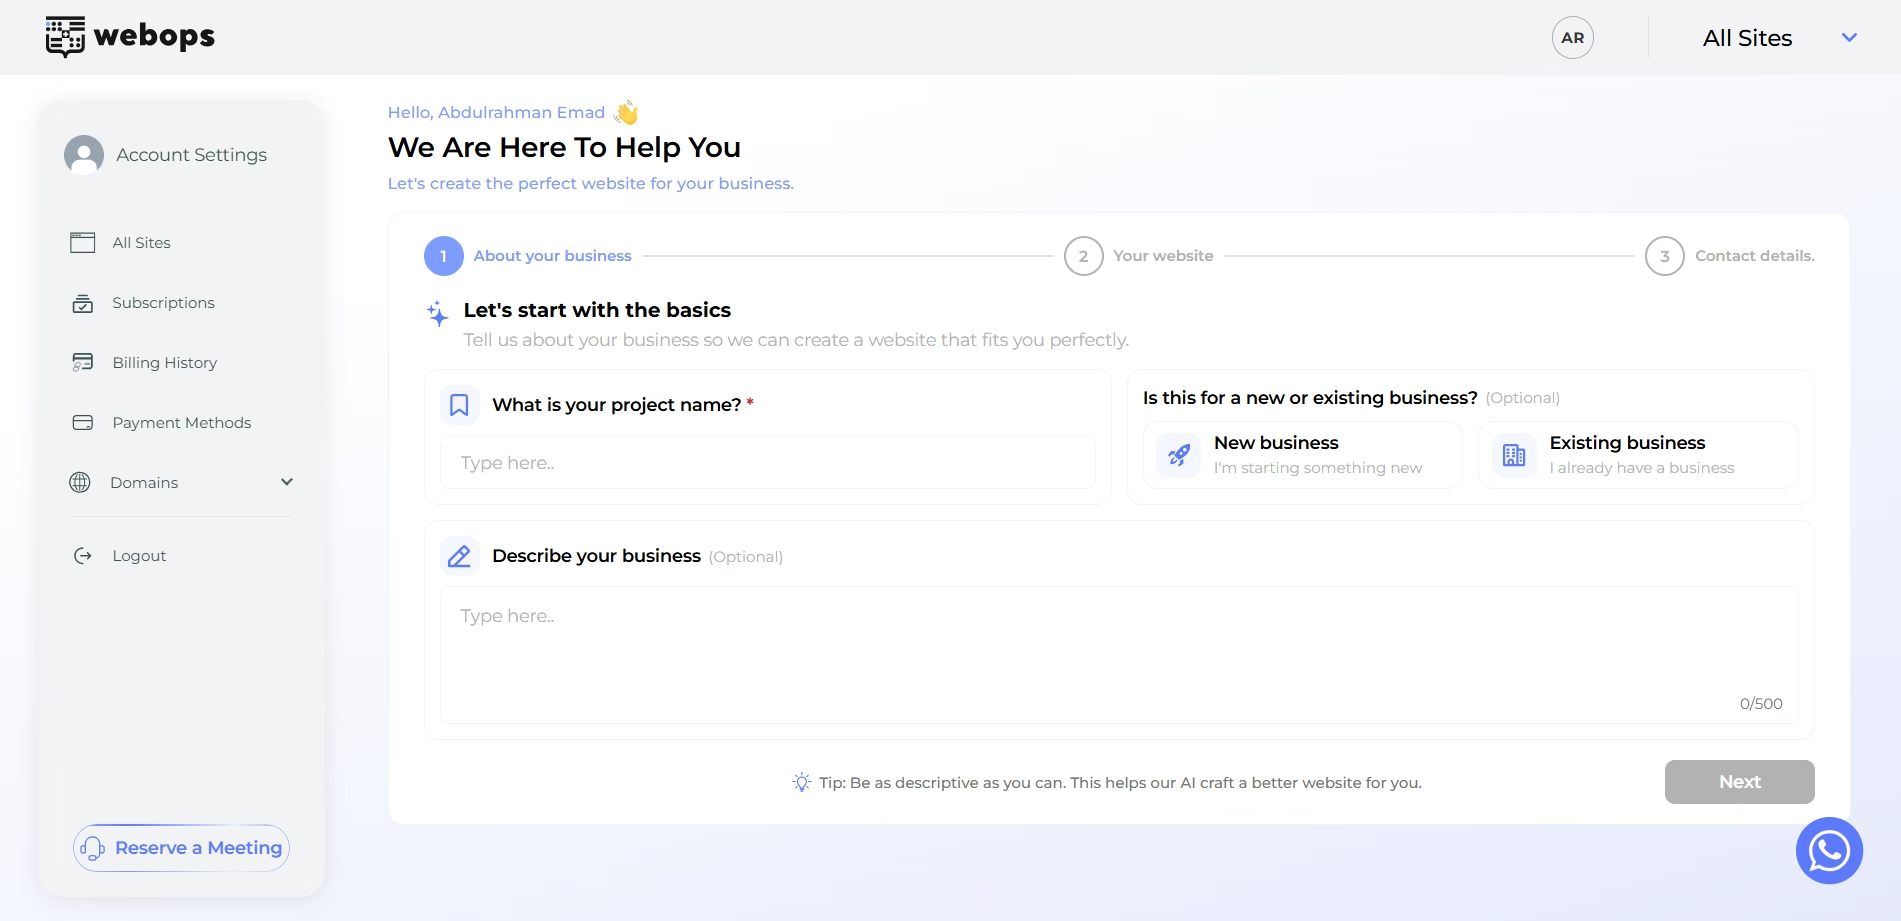
Your Website #
This step is one of the most important parts of the AI generation process.
The AI uses answers such as:
- website industry
- website goal
- uploaded logo
to help determine the type and structure of your website.
For example:
- selecting Online Store (Ecommerce) helps generate an e-commerce website
- selecting Showcase Website helps generate a business or informational website
The AI also uses these answers to help choose suitable layouts and website styles automatically.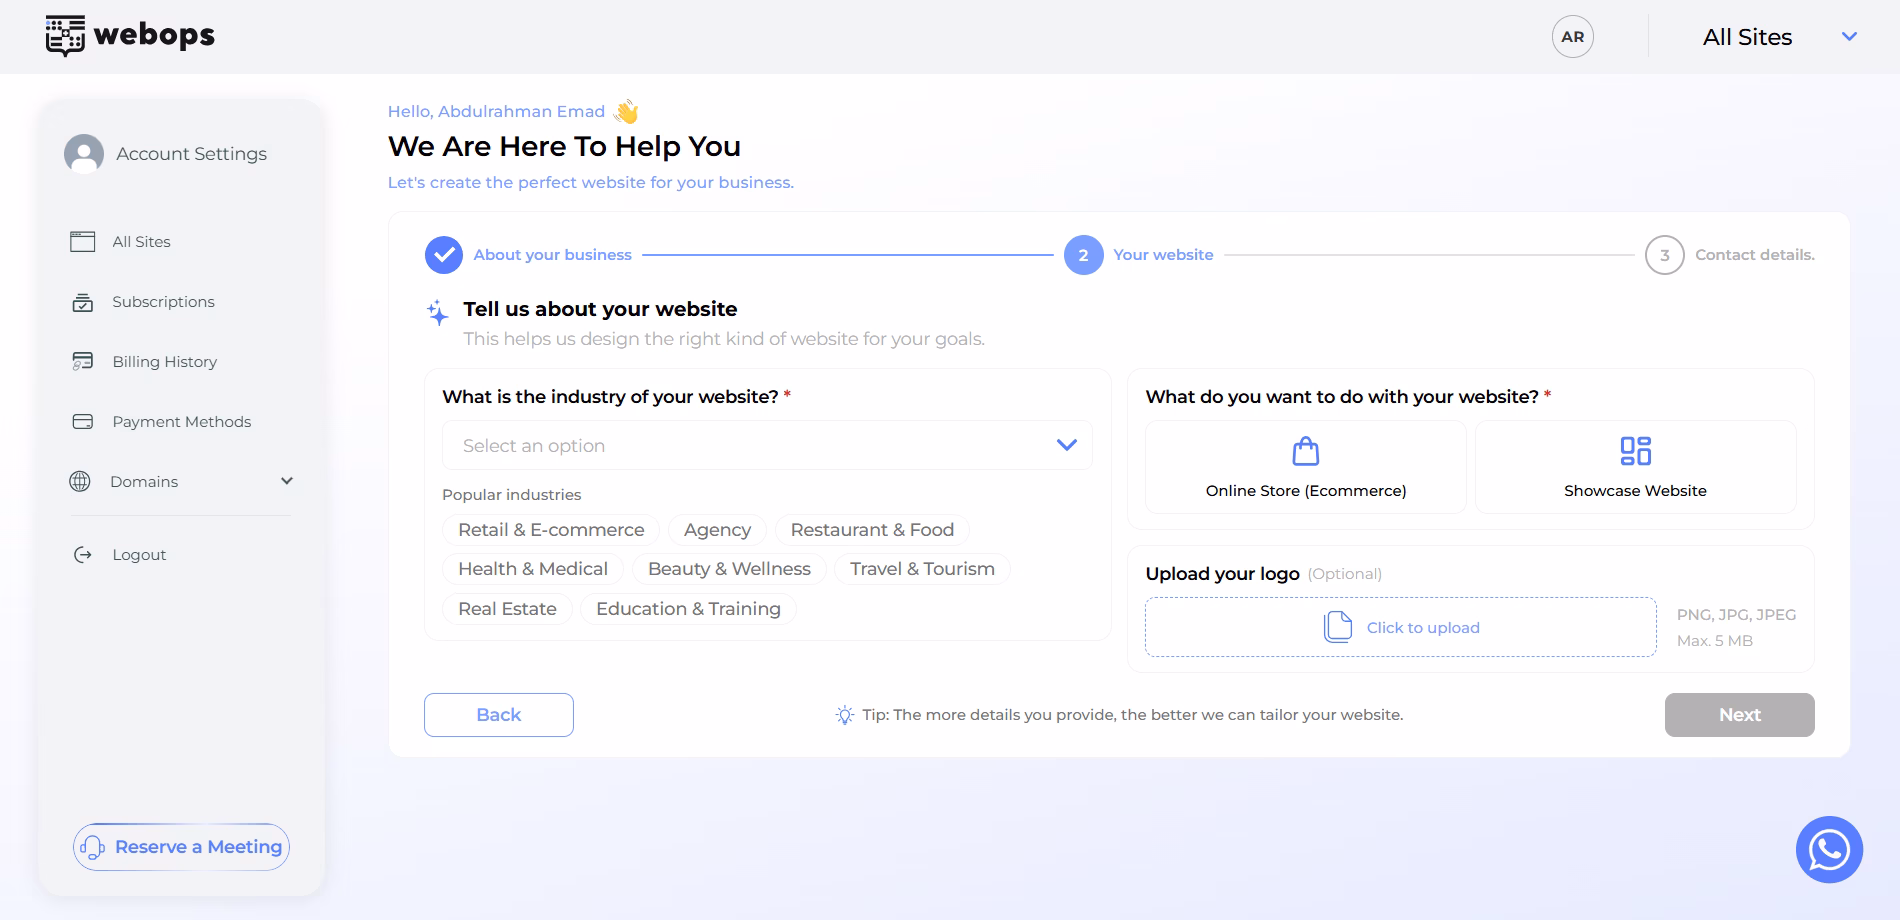
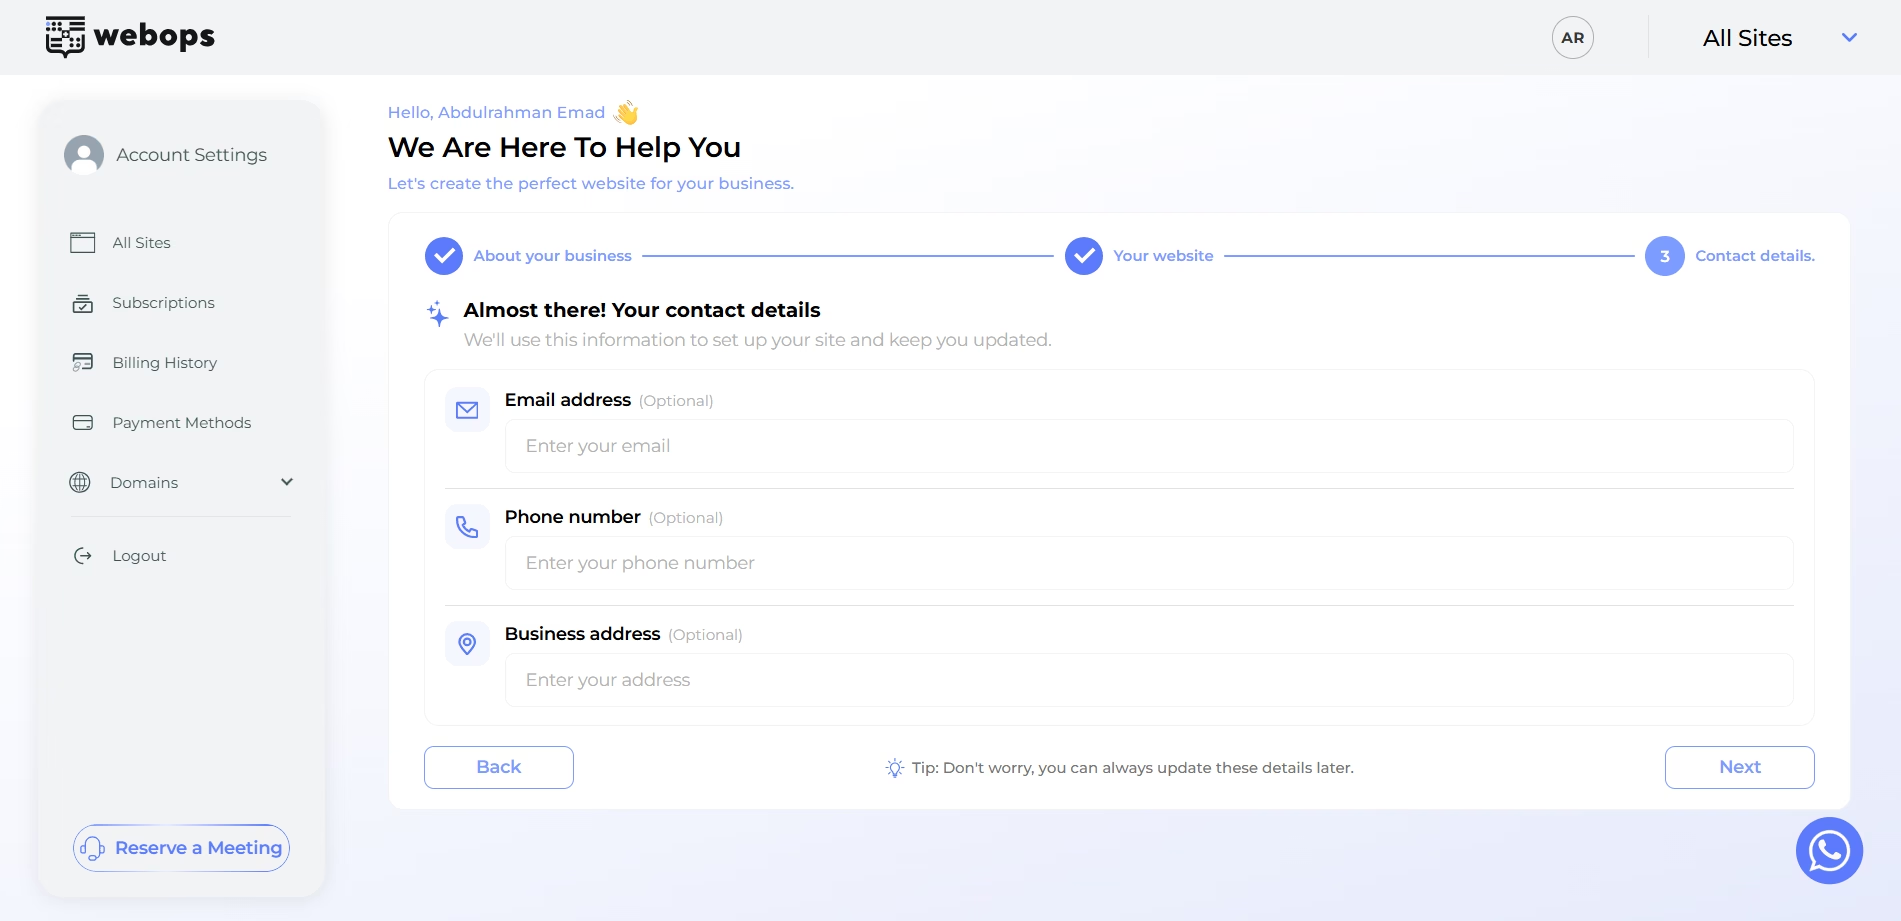
Contact Details #
You can also provide:
- email address
- phone number
- business address
These details may automatically appear inside your generated website such as:
- contact sections
- footer information
- contact pages
Step 3: Choose Build With AI #
After completing onboarding, you will choose how you want to create your website.
Select: Build With AI to start automatic website generation.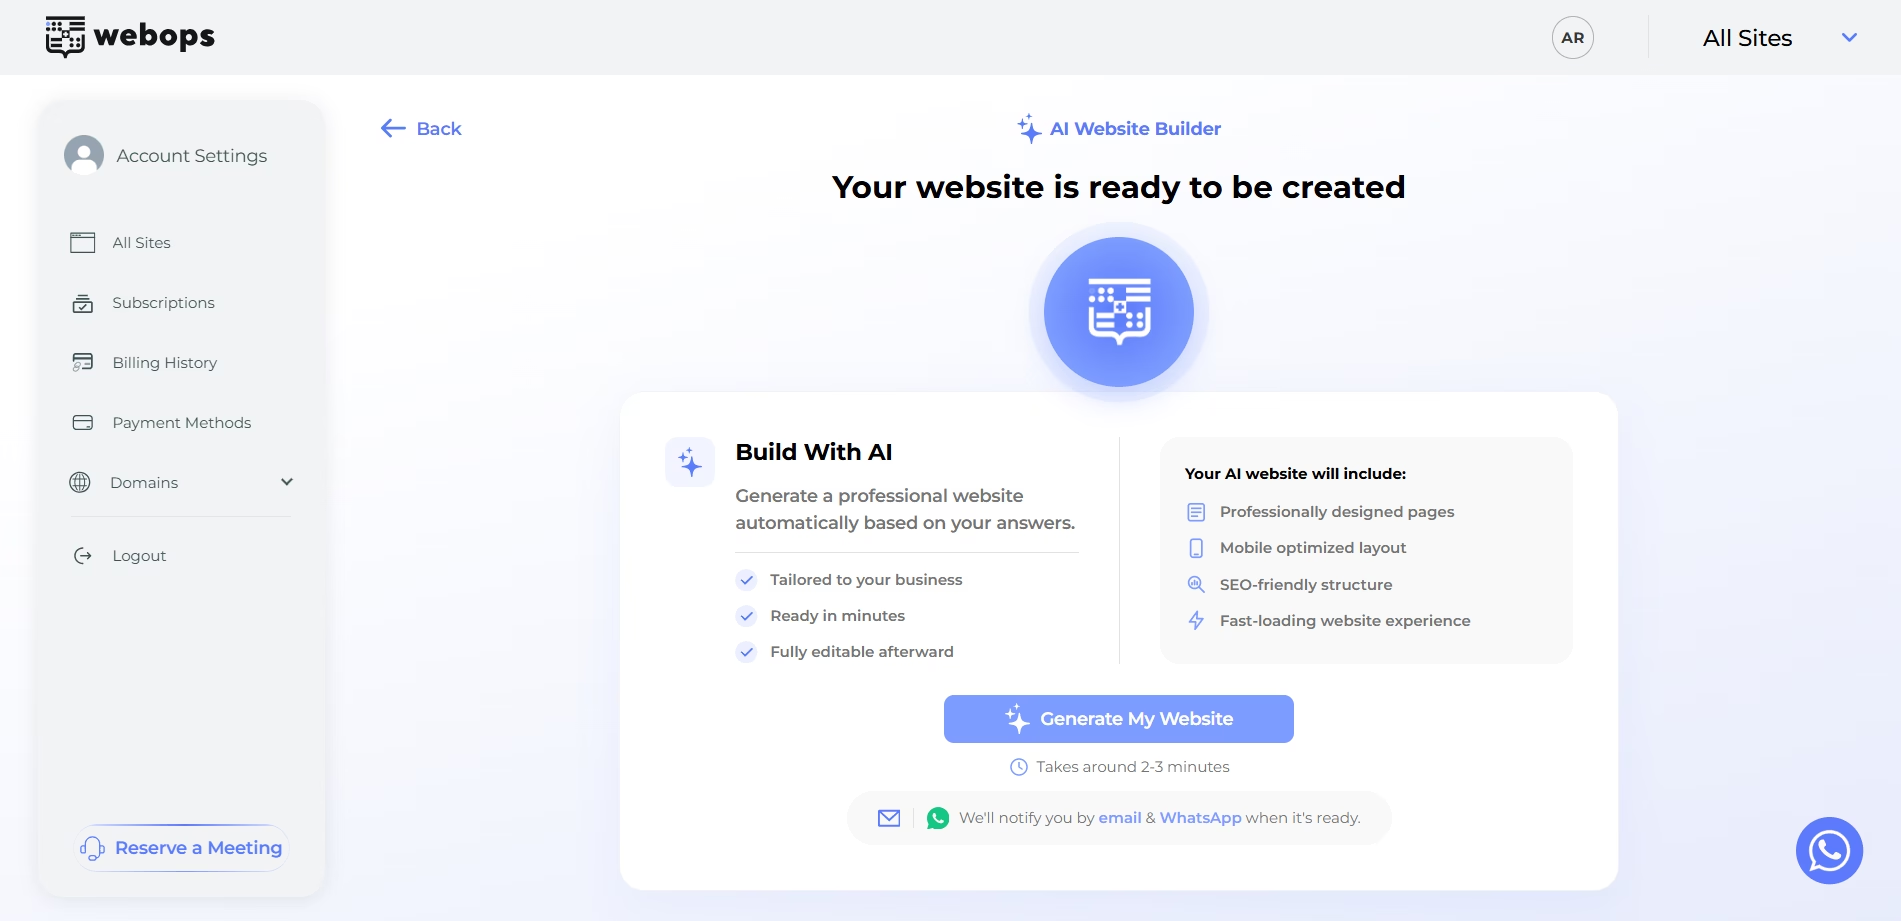
Step 4: Complete Payment (If Required) #
If your new website requires a paid plan, you will first be redirected to the payment step.
After payment is completed successfully, the AI generation process will begin automatically.
Step 5: AI Website Generation #
Once the AI process starts, WebOps automatically:
- prepares your website structure
- generates layouts
- creates website sections
- prepares content
- chooses suitable website styling
- creates e-commerce or showcase experiences depending on your onboarding answers
During this process, WebOps generates your website automatically in the background.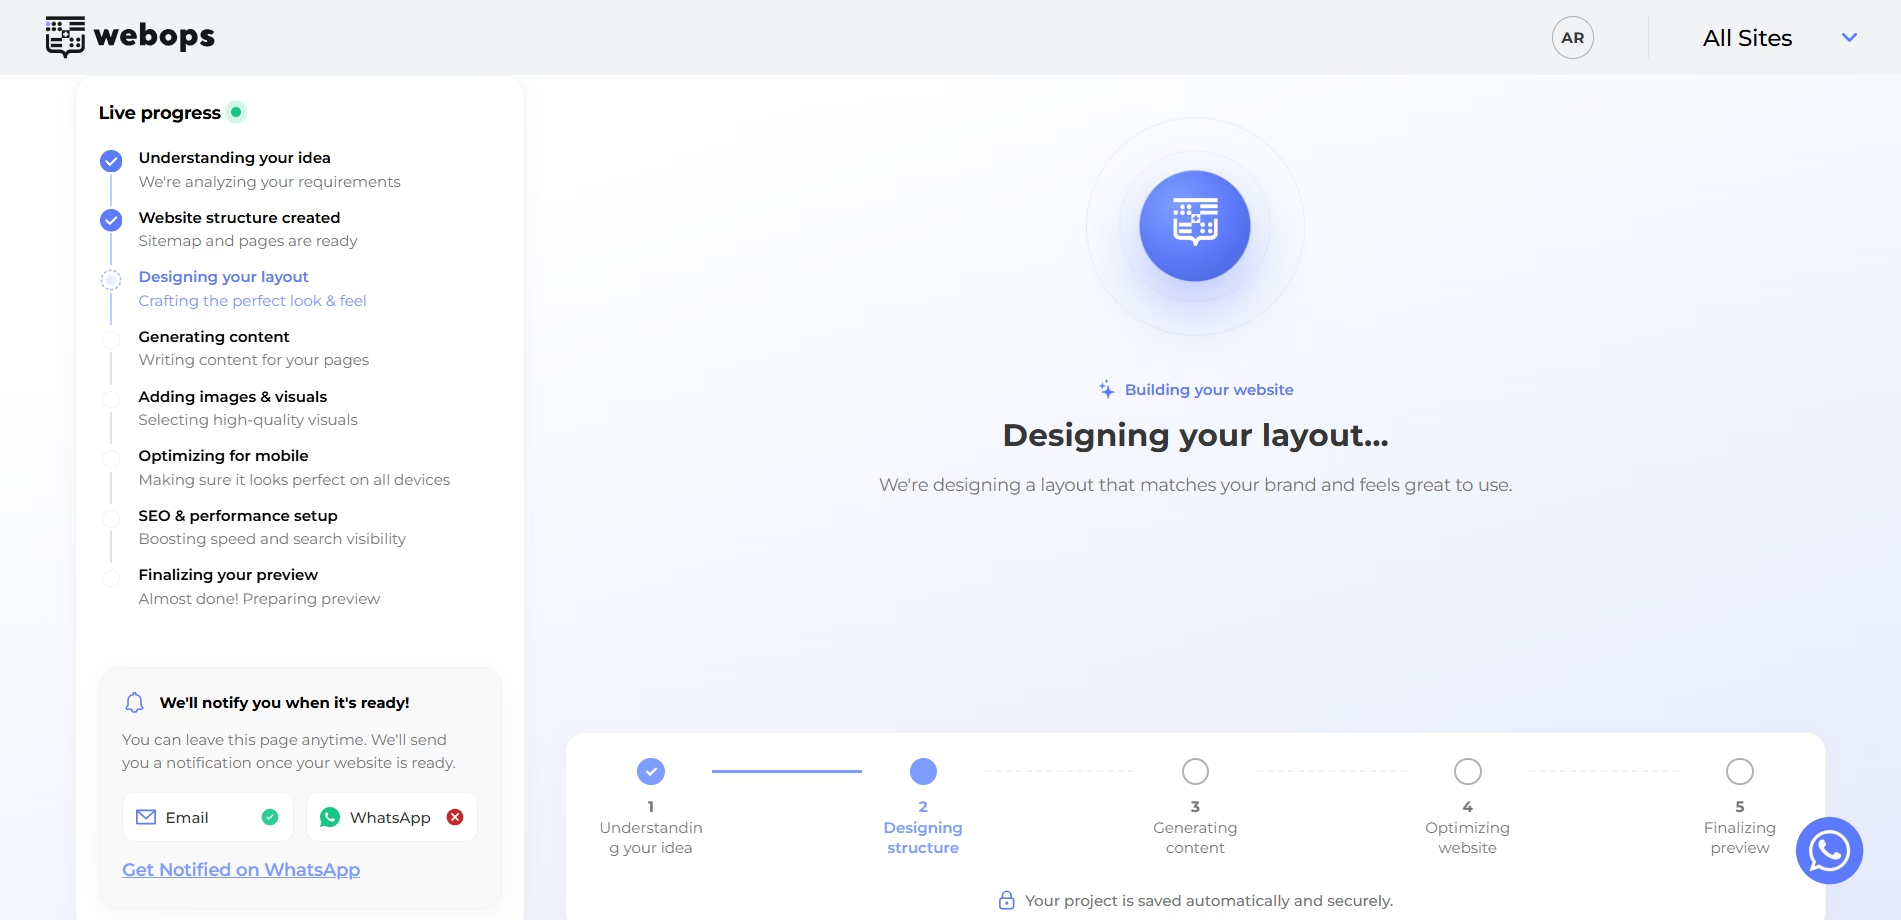
Step 6: Website Ready #
After generation finishes successfully:
- you may receive an email notification
- you may also receive a WhatsApp notification if your phone number is verified
You will then be redirected to the website completion page.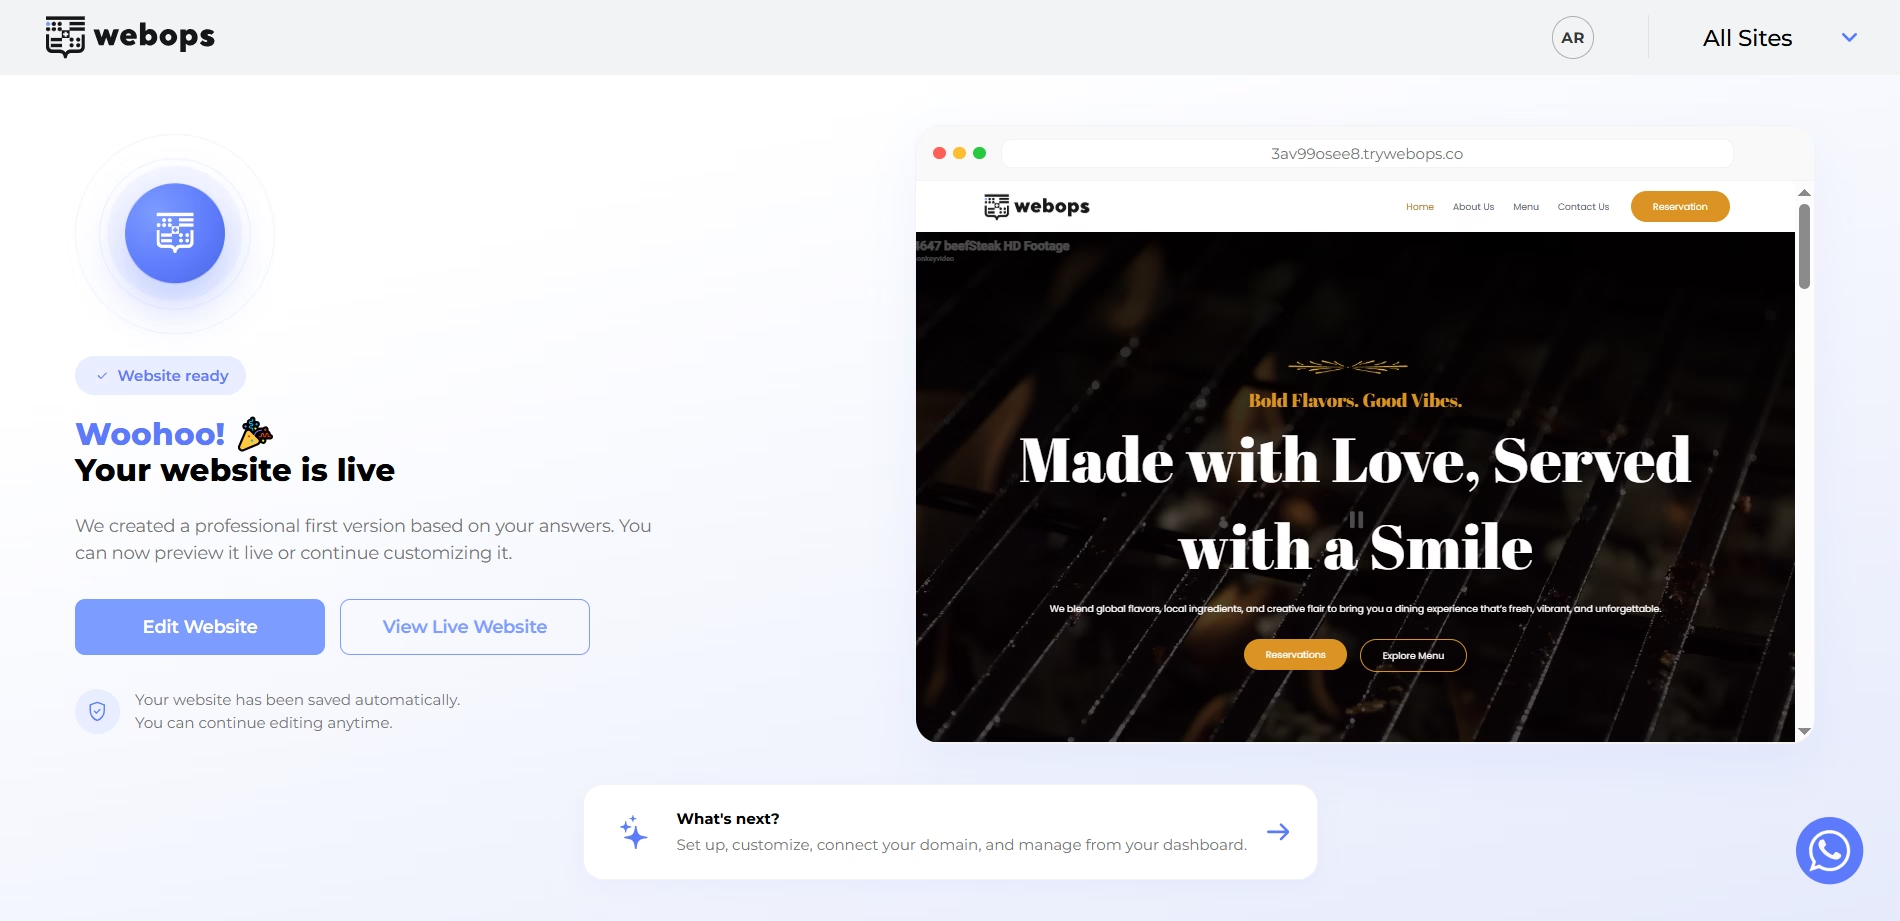
The completion page includes:
- a live preview of your website
- direct access to edit your website
- direct access to your live website
- next steps for managing your website
Available actions:
- Edit Website
- View Live Website
- What’s next?
What Happens After Generation? #
After your website is created, you can:
- edit pages and content
- customize the design
- upload images and media
- manage plugins
- connect domains
- publish updates
- continue building your website manually if needed
You can manage your website through both:
- the WordPress Dashboard
- the WebOps website dashboard
Important Notes #
- AI website generation may take a few minutes depending on the website type
- The AI automatically selects layouts and structures based on your onboarding answers
- Choosing Online Store (Ecommerce) helps generate an e-commerce experience
- You can continue customizing your website after generation finishes
- Notifications may be sent through email and WhatsApp