After purchasing a domain in WebOps, you can choose whether to use:
- WebOps nameservers
- external/custom nameservers
This guide explains how to change nameservers and what happens after the change.
Before You Start #
Changing nameservers affects how your domain works.
When switching to external nameservers:
- DNS management inside WebOps will stop working
- connected websites may stop working until DNS is configured externally
- linked domains for this domain only will be unlinked
DNS propagation may take some time after changing nameservers.
Step 1: Open the Domains Portfolio Page #
Log in to your WebOps dashboard:
app.thewebops.com
From the left sidebar, click Domains.
You will be redirected to the Domains Portfolio page.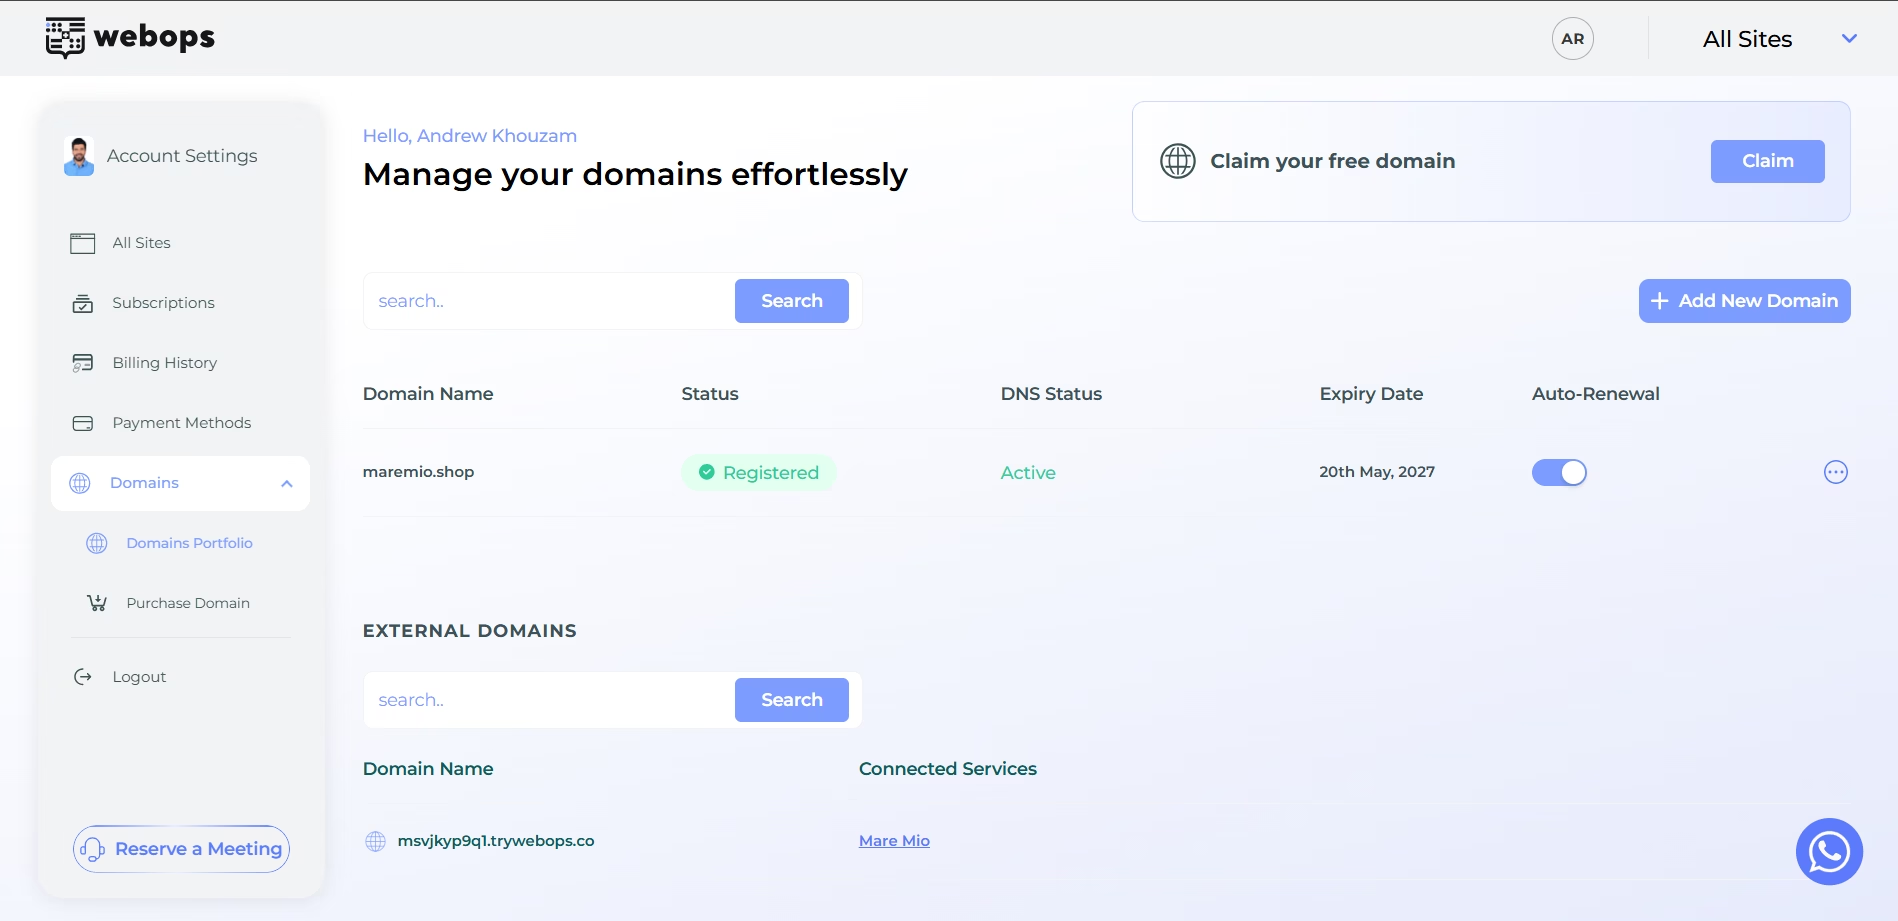
Step 2: Open the Change Nameservers Modal #
Locate the domain you want to update.
Click the three dots menu next to the domain.
Then click: Change Nameservers
The Change Nameservers modal will appear.

Step 3: Choose the Nameserver Type #
Inside the modal, you can choose between:
- WebOps
- External
The selected option depends on the current nameserver configuration.
If the domain is already using external nameservers, the External option will appear selected automatically.
WebOps #
Uses WebOps-managed nameservers.
Recommended if you want to:
- manage DNS records inside WebOps
- connect domains to WebOps websites easily
- activate SSL automatically
External #
Uses your own custom nameservers from another provider.
Recommended if you manage DNS outside WebOps.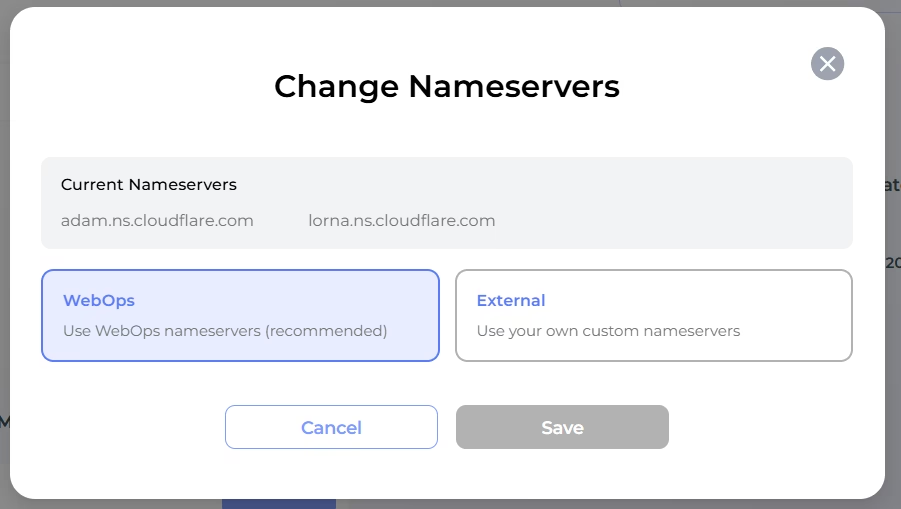
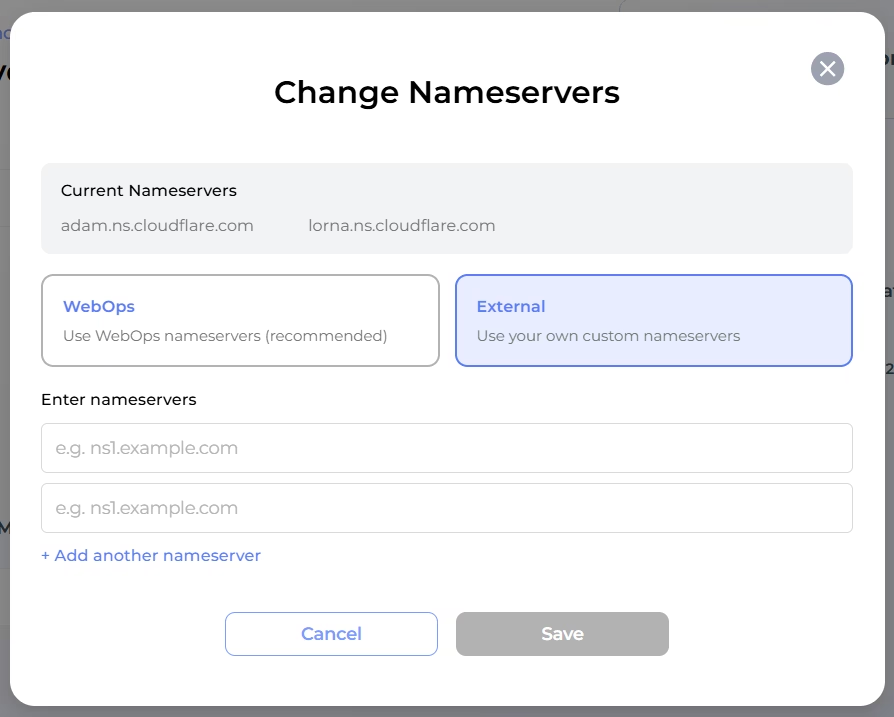
Step 4: Enter External Nameservers #
If you choose: External
you must enter at least two nameservers.
Example:
ns1.example.com
ns2.example.com
You can also click: Add another nameserver to add additional nameservers.
Then click: Save
Step 5: Confirm Unlinking Linked Domains (If Required) #
If the domain is currently linked to websites or subdomains, WebOps will display a warning confirmation modal before changing to external nameservers.
The warning explains that linked domains using this domain will be automatically unlinked.
Click: Confirm & Unlink to continue.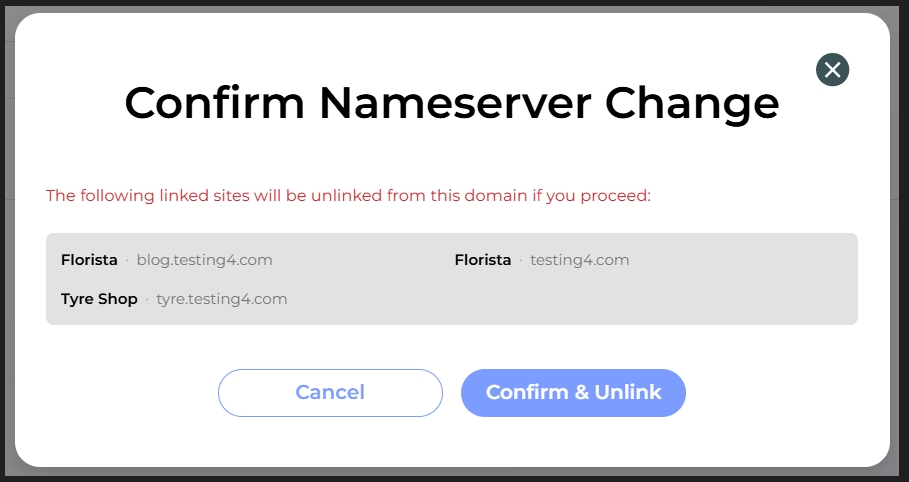
What Happens After Changing Nameservers? #
After saving the new external nameservers:
- the DNS Status will become Propagating
- the domain will begin updating globally
- you will not be able to change nameservers again immediately
- switching back to WebOps nameservers will be temporarily disabled
Once propagation finishes successfully:
- the DNS Status will become External
- the cooldown period must finish before changing nameservers again
If linked domains or subdomains were removed:
- they will be automatically unlinked
- affected websites will revert to their temporary WebOps domain (msvjkyp9q1.trywebops.co)
- the temporary domain will automatically become the Primary Domain if the removed domain was previously primary
WebOps will also send an email confirmation containing:
- the updated nameservers
- the domains/subdomains that were automatically unlinked
Important Notes #
- DNS propagation may take several minutes or a few hours
- Domains using external nameservers cannot use WebOps DNS management
- Domains using external nameservers cannot be linked directly through WebOps DNS
- At least two external nameservers are required
- Some connected services may stop working until external DNS is configured correctly
- WebOps recommends using WebOps nameservers for the best experience