If you already own a domain from another provider (such as GoDaddy, Namecheap, or Google Domains), you can connect it to your WebOps website by updating your DNS settings.
This guide explains how to connect and verify an external domain step by step.
Before You Start #
Before connecting an external domain, make sure:
- you own the domain through another provider
- you have access to the domain’s DNS settings
- the domain is not already connected elsewhere
External domains require manual DNS verification before they become active.
Method 1: Connect from the Website Home Page #
Step 1: Open Your Website Dashboard
Log in to your WebOps dashboard:
app.thewebops.com
Open the website you want to connect the domain to.
Then use one of the following options:
- click Connect domain from the status panel at the top of the page
- click Connect from the Connect your domain step inside the setup checklist
Both options open the domain connection flow.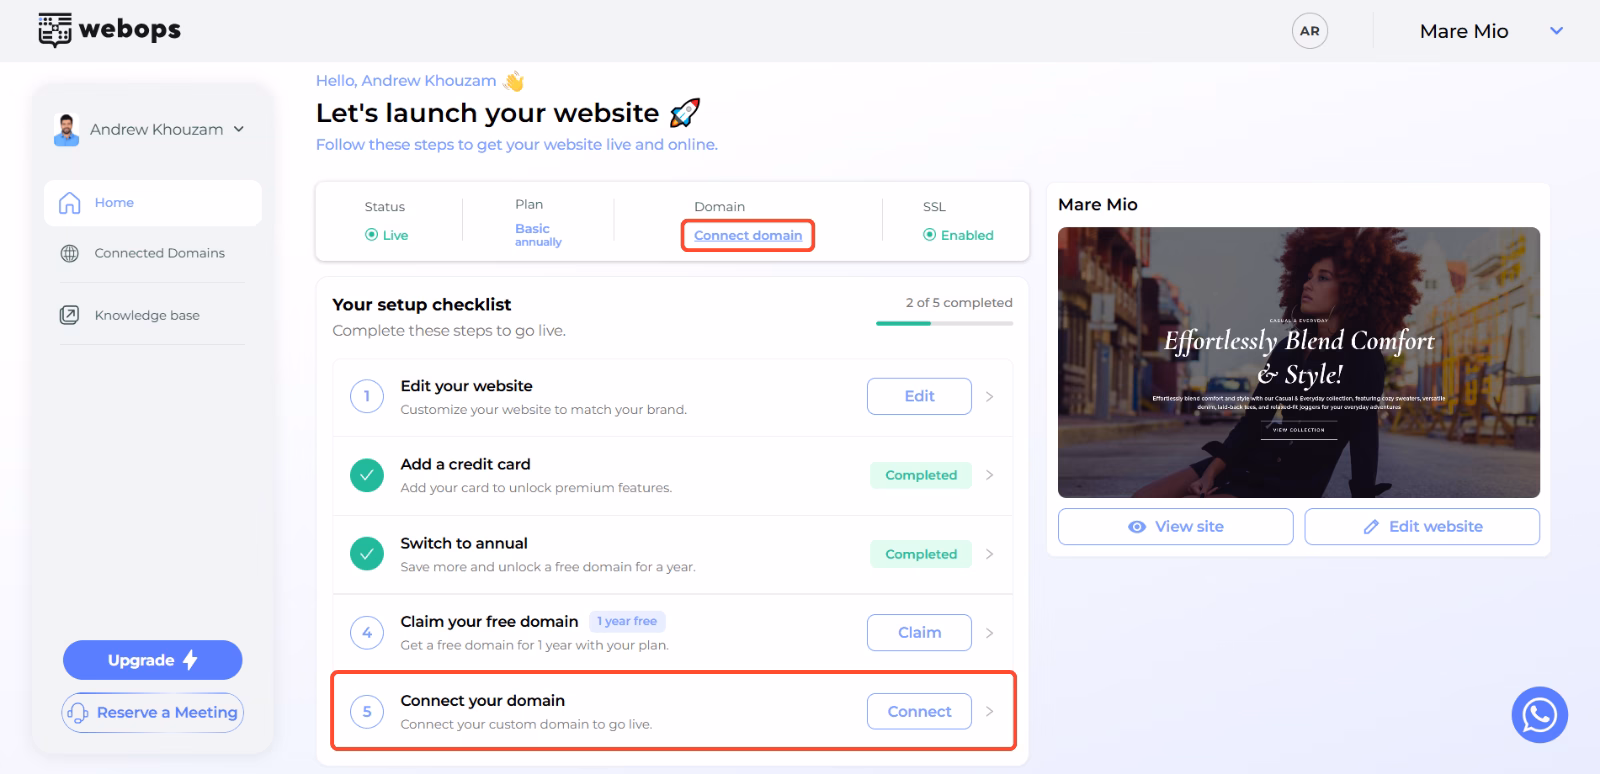
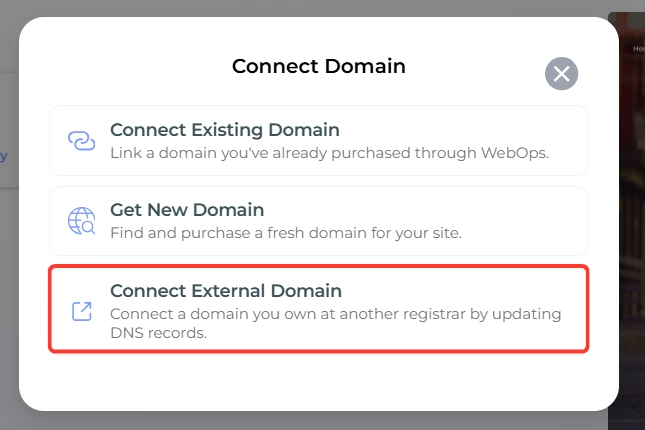
Step 2: Choose Connect External Domain
Inside the Connect Domain modal, select:
Connect External Domain
Step 3: Enter Your External Domain
Enter your full domain name (example: yourbrand.com).
Then click: Add
WebOps will generate the required DNS records for verification.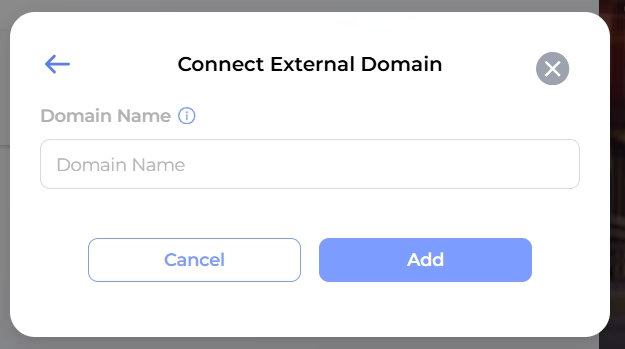
Method 2: Connect from the Connected Domains Page #
Step 1: Open the Connected Domains Page
Inside your website dashboard:
- open Connected Domains from the sidebar
You will see the Connected Domains page.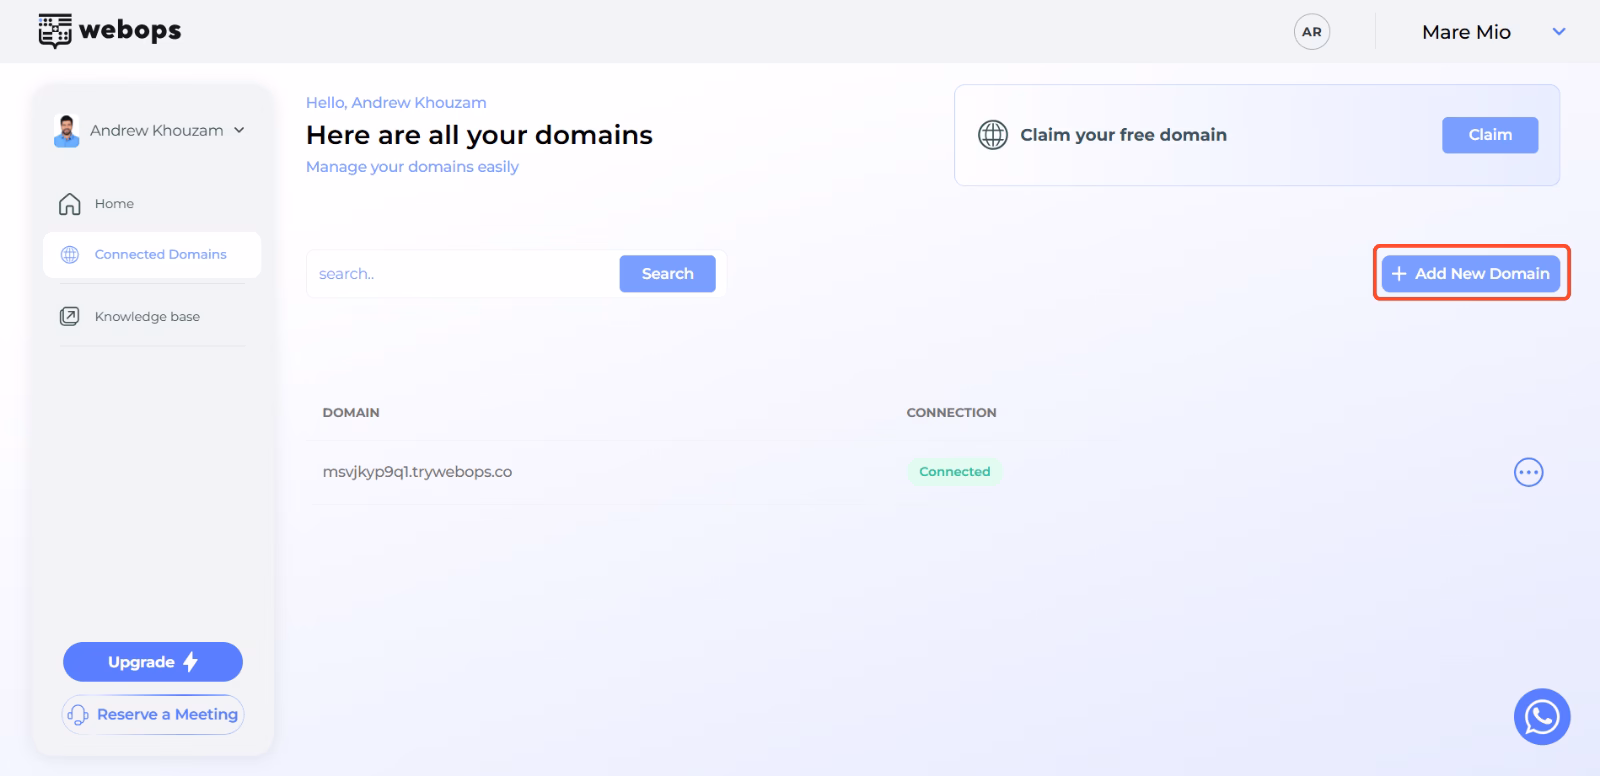
Step 2: Click Add New Domain
Click: Add New Domain
A modal will appear with multiple connection options.
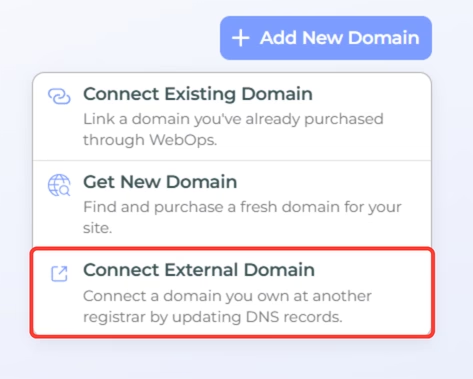
Step 3: Choose Connect External Domain
Select: Connect External Domain
Then enter your domain name and click Add.
WebOps will display the DNS records required for verification.
Step 4: Update Your DNS Records #
Inside your domain provider’s DNS settings, update your records to match exactly what WebOps shows you.
Typically, you will add the following:
| Type | Name | TTL | Value |
|---|---|---|---|
| A | @ | 60 mins | Server IP shown |
Paste them into your DNS settings exactly as shown.
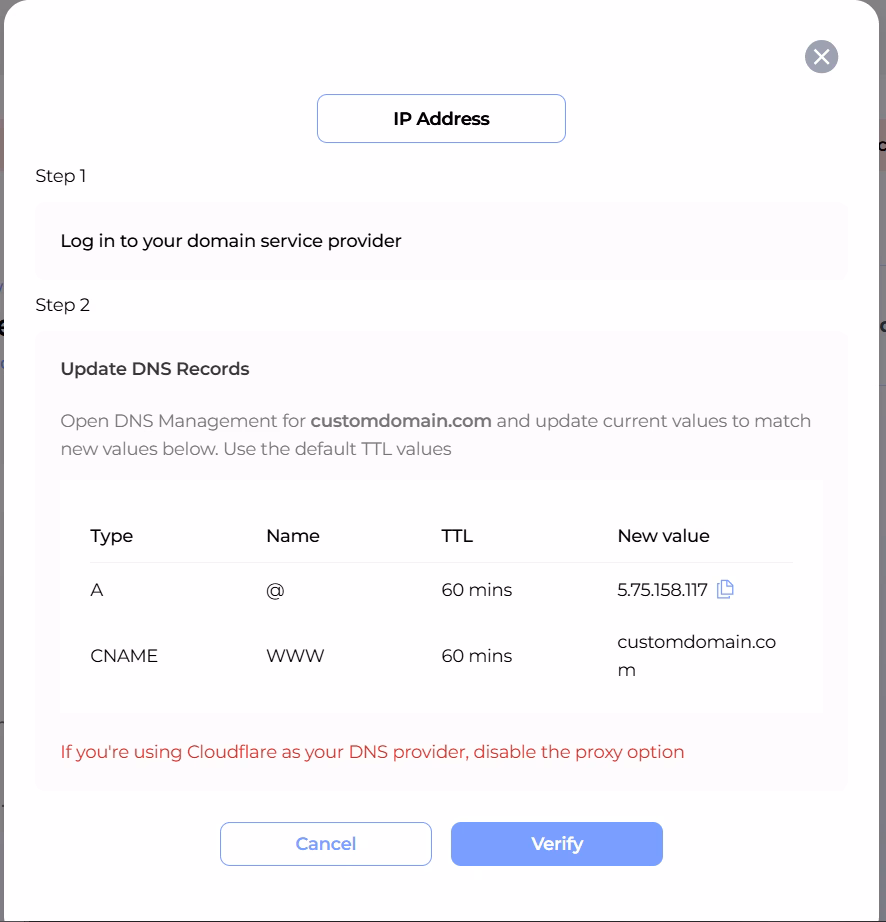
If you’re using Cloudflare, make sure to turn off their “Proxy” option for this record — it can block our system from verifying correctly.
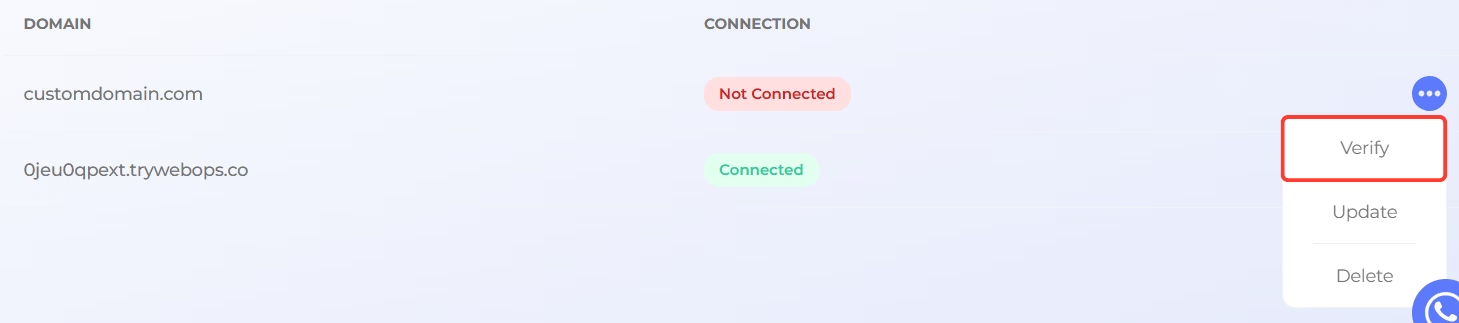
Step 5: Verify Your Domain #
After updating your DNS records:
- return to the Connected Domains page
- locate your domain
- click Verify
 DNS propagation may take some time depending on your provider.
In some cases, verification may take several hours.
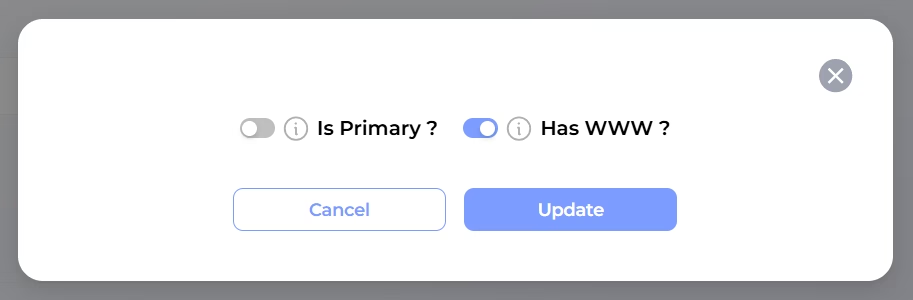
Step 6: Configure Your Connected Domain (Optional) #
After verification succeeds:
click the three dots menu next to the domain.
Then click: Update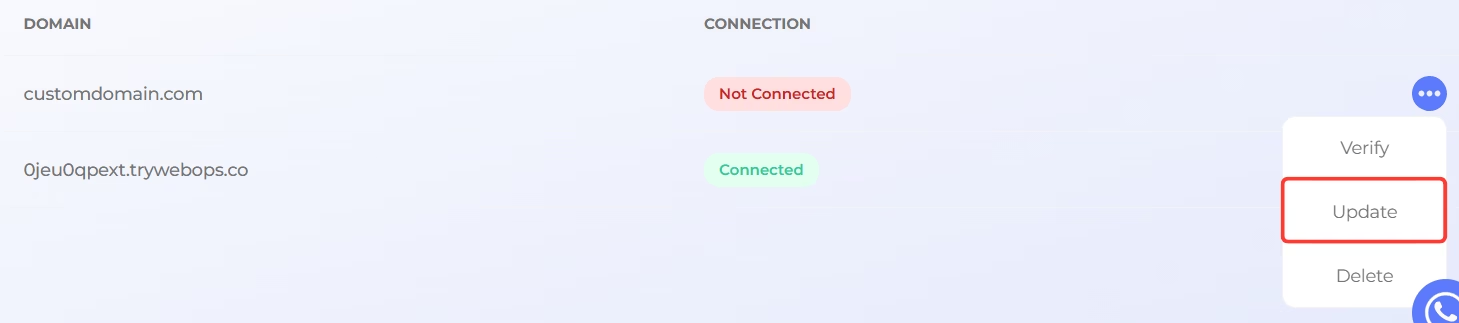
You can:
- set the domain as the Primary Domain
- enable or disable WWW support
What Happens After Verification? #
After the domain is verified successfully:
- it will appear in the Connected Domains page
- you can set it as the Primary Domain and start using it on your website
- visitors can access your website using the external domain after setting it as Primary
Important Notes #
- External domains require manual DNS verification
- DNS propagation may take time
- Domains purchased outside WebOps are managed through the external provider
- If you are using Cloudflare, disable Proxy during verification
- External domains appear in the External Domains section inside Domains Portfolio
- DNS records and nameservers for external domains are managed outside WebOps